Feb 9, 2022
Reflections enhance the realism of a rendered 3D scene and without it we can not have objects like mirrors or puddles of water that reflect the surrounding environment. Raster rendering pipelines like QtQuick3D can approximately calculate reflections using different methods to get good results, as opposed to Ray Tracing where reflections can be calculated accurately by following the light rays and checking where they bounce from. In this blog post, we are going to discuss two different techniques to do reflections in QtQuick3D.
Reflection Probes
Reflection Probe is a new QtQuick3D component introduced as a tech preview in Qt 6.3. This component uses environment mapping technique to calculate reflections. The probe is positioned somewhere in the scene where it captures the surrounding environment and saves it in a cube map. The objects can use this cube map to show reflections.
The image shows a use case for that. The probe will capture the environment and the mirrors use the captured cube map to show the reflection of the car and other objects in the scene.
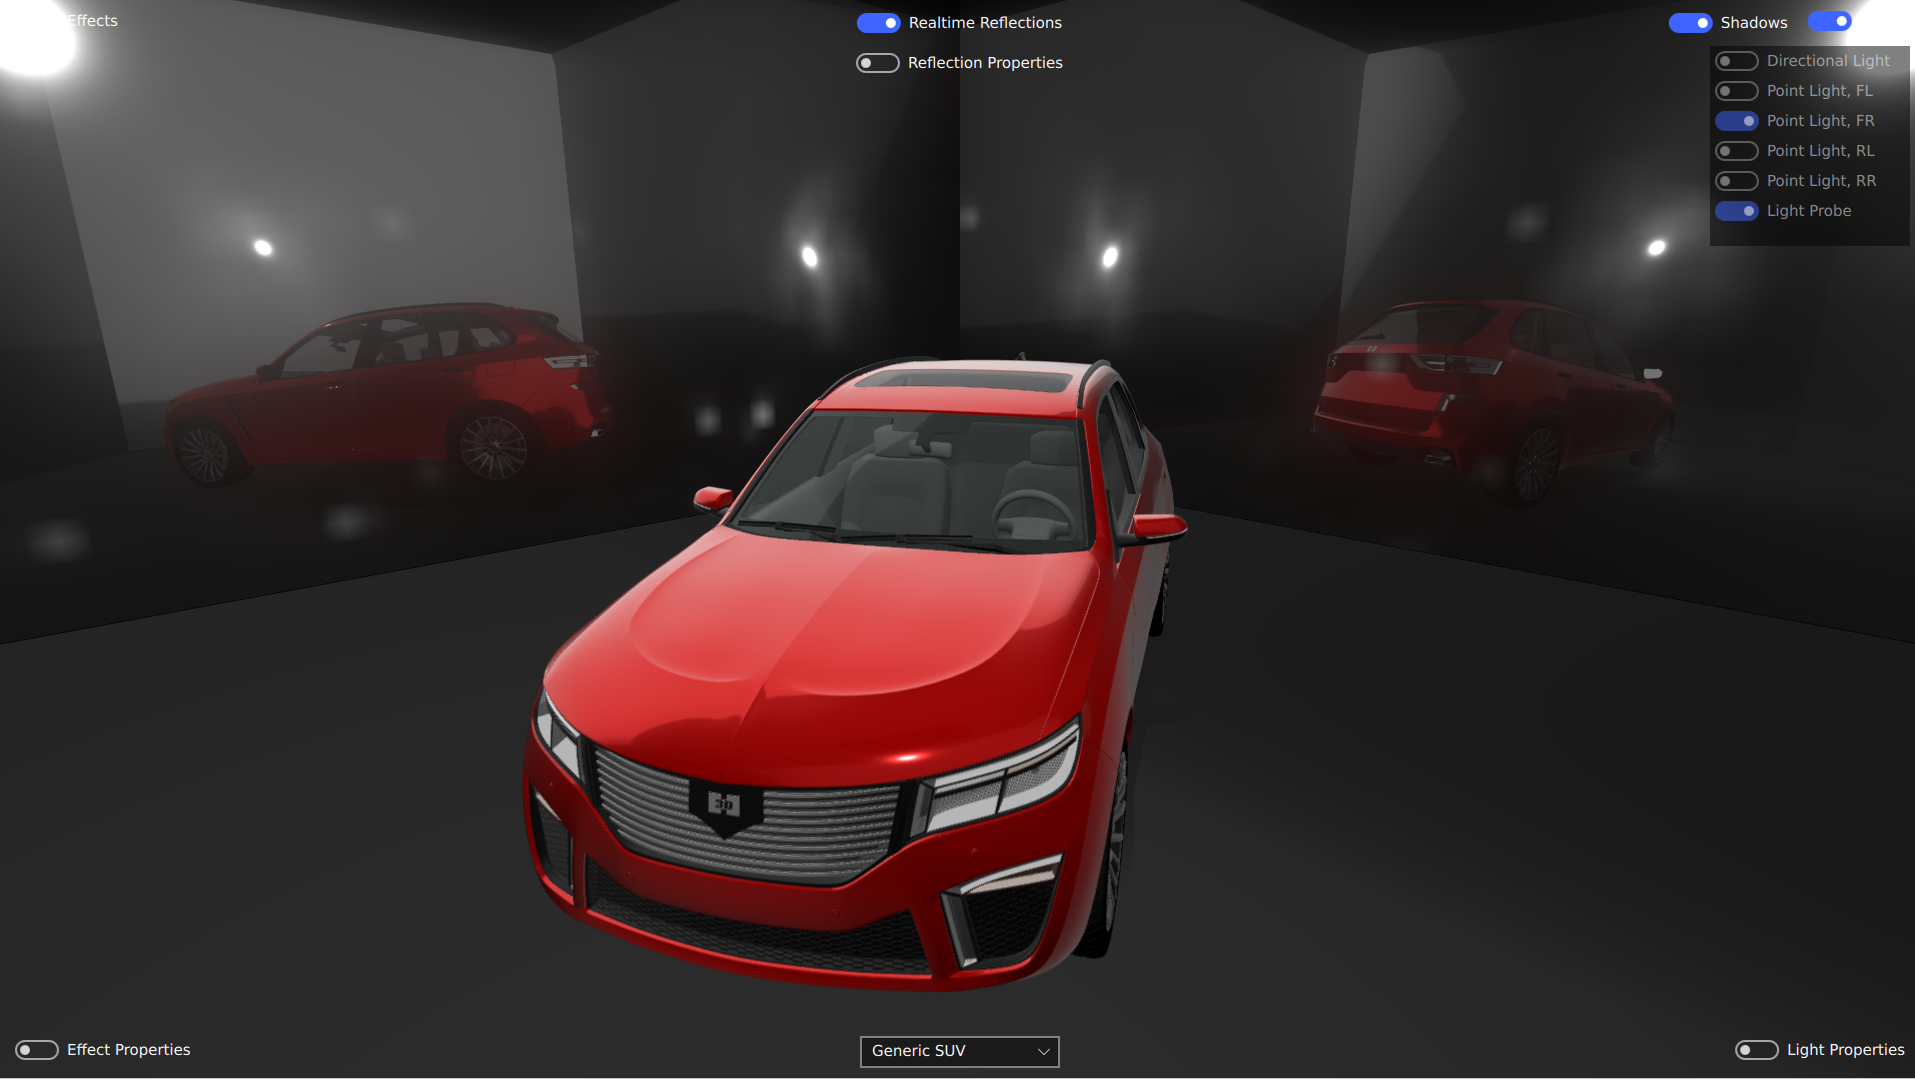
There are couple of things to focus on here. First, the probe captures the environment from its current position so the placement of the probe in the world affects what is going to appear in the cube map.
Second, for an object to show reflections it must have receivesReflections property set to true, which is a new property introduced for the Model component in Qt 6.3, and it must lie inside the probe. The probe has a property boxSize which defines the size of probe box. Any object that lies inside the probe's box can show reflections using this probe cube map. Moreover, if an object lies inside two probes at the same time, it will use the nearest probe cube map.
The Reflection Probe has three properties to control how the cube map is rendered. These properties let the user favor quality over performance and vice versa.
-
Quality: Let the user choose the texture quality of the cube map.
-
Refresh Mode: Has two options, either first frame or every frame. First frame will make the probe capture the environment only once and It is suited for static environments. Every frame will make the probe capture the environment every frame. It makes reflections more realistic but it might affect the frame rate depending on the hardware.
-
Time Slicing: Let the user select how each face of the cube map is going to be rendered. For example, Individual Faces option will make the probe render a single face each frame while None option will make the probe render all the faces in a single frame
One more thing that is worth mentioning, when the probe captures the environment in a cube map it considers everything to be infinitely far away. This works well for something like the skybox but not for nearby objects specially in an indoor area. Here is an image of the same scene showing this issue.
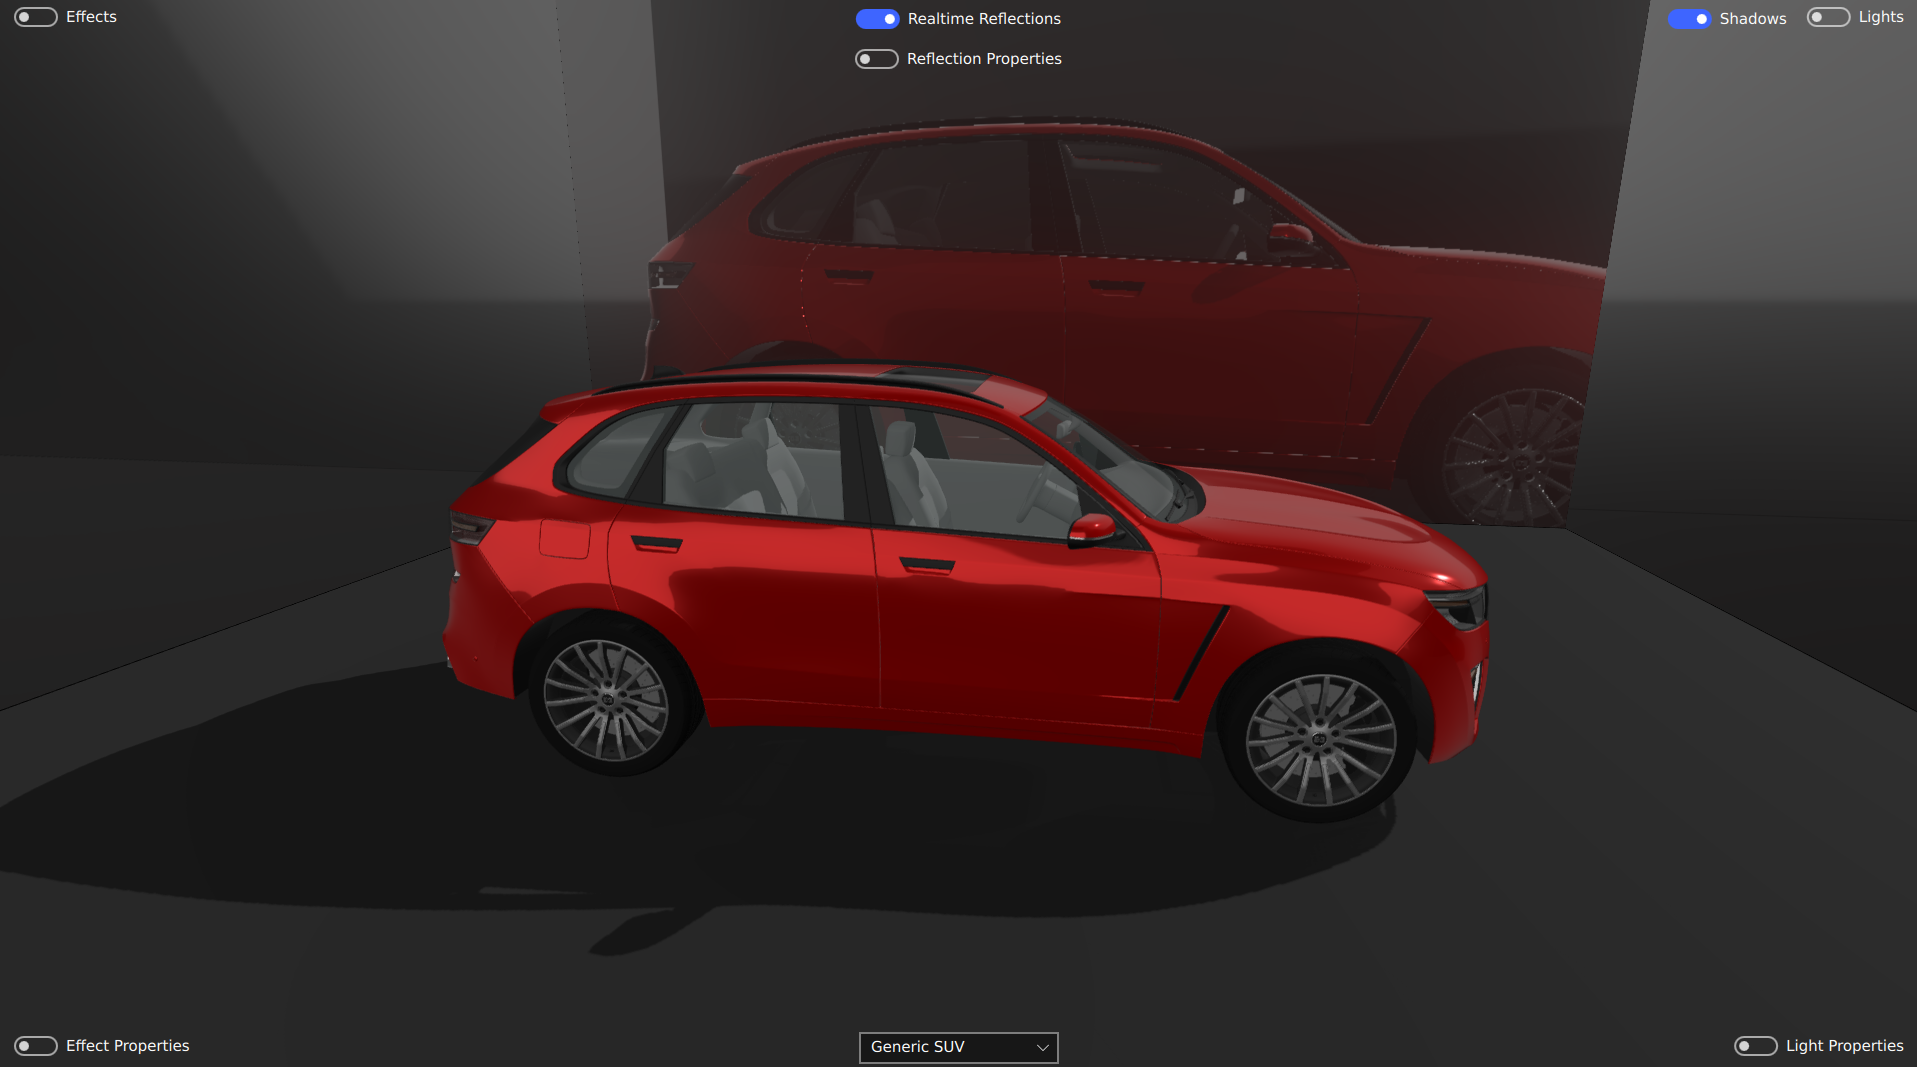
The reflections seem off. The car's reflection on the mirror is large and not represented in the correct size. To solve this issue, Reflection Probe has a property parallaxCorrection which corrects this issue by taking some variables into account including the boxSize. The first image in the blog is what you get when parallaxCorrection is enabled.
Screen Space Reflections
Another way to calculate reflections is called Screen Space Reflections or simply SSR. It is a post processing effect technique that works on the rendered frame in screen space. A ray is emitted from the camera to each fragment and the ray can be traced and find which objects are hit. It is something like ray tracing but done in screen space. This technique is more computationally expensive than environment mapping but it has more accurate results. However, since it works in screen space it has some drawbacks. Objects that are outside the frame or behind the camera do not appear in the reflections which is undesired effect.
This technique is not part of the QtQuick3D rendering pipeline but it can be implemented for a particular model using a custom material and a fragment shader. It is discussed in more detail in this example.


