May 25, 2023
Comments
Before you read
Qt Bridge for Figma is a legacy solution.
If you are starting a new project, please download Figma to Qt, the new plug-in that converts Figma GUI designs into clean, working QML code.
If you have a project using Qt Bridge for Figma, you can get support via email or Qt Account Support Center until October 2030.
Prologue
When Qt Design Studio was in its infancy we recognized the need for Designers to be able to import their work into Qt Design Studio (QtDS for the rest of this piece) from other tools. This was before Figma existed and the whole concept of design systems with atomic components was not so well known. At the time we targeted Photoshop, as it had a large user base in the industry and was considered to be an industry standard for UI and UX design. At first our idea was that the Bridge, as we called it, would be mostly useful as an asset importer, a way to get the graphical assets across from one tool to the other, retaining the position and composition, so the Designers would be able to skip the tedious work of exporting and rebuilding the screen design piece by piece.
It quickly became apparent that this would not be enough. Designers wanted to model the application structure, create components and use them as instances, they wanted native qml components for things like rectangles, arcs and well, everything they could. They wanted Variants, Libraries, Anchors, Layouts and Controls. In short there was a lot missing and no tool that could really support it, until of course, Figma came along.
Figma changed the game for a whole lot of Designers, it started to make the design process much closer to how the development process worked. For us it created opportunity to capture the design structure and convert it into qml, the language used in Qt Design Studio, which is an ideal language to describe these kind of design systems.
Each version of Qt Bridge for Figma since then has seen more features added, starting with the simple step of converting a rectangle in Figma into a qml rectangle, then turning variants into states and constraints into anchors, supporting responsive design, library support to enable design systems for teams and most recently converting Figma’s Auto Layouts into the Qt Quick Layouts used in QtDS.
With each new feature added there was of course more complexity, and, as it goes, more for the Designer to do, with more control over the outcome of the design. But all this complexity comes at a price, it means that the Designer has to understand more about the development process and it changes the way you have to design. Structure, nomenclature, interaction and componentization become paramount, the design has to follow rules and the Designer no longer can only concern themselves with how things look.
In order to help new users get up to speed we have created an introduction project for on-boarding and explaining the key concepts of Qt Bridge for Figma. It's what I am basing the examples on in my tips and you can check out that project by trying the Qt Bridge for Figma plugin here:
https://www.figma.com/community/plugin/1167809465162924409
Tip1 - Structure is Everything
Qt Bridge will covert your entire design into qml, every group, every layer, every component and every instance. It will keep all your naming conventions as you have set them, with the caveat that it will resolve duplicates and sanitize the names to conform with qml rules.
So, for your own sanity, review the structure of your design. Remove unwanted layers, don’t nest things in groups inside groups inside groups for no reason and rename all those layer2-copy2 layers to something meaningful!
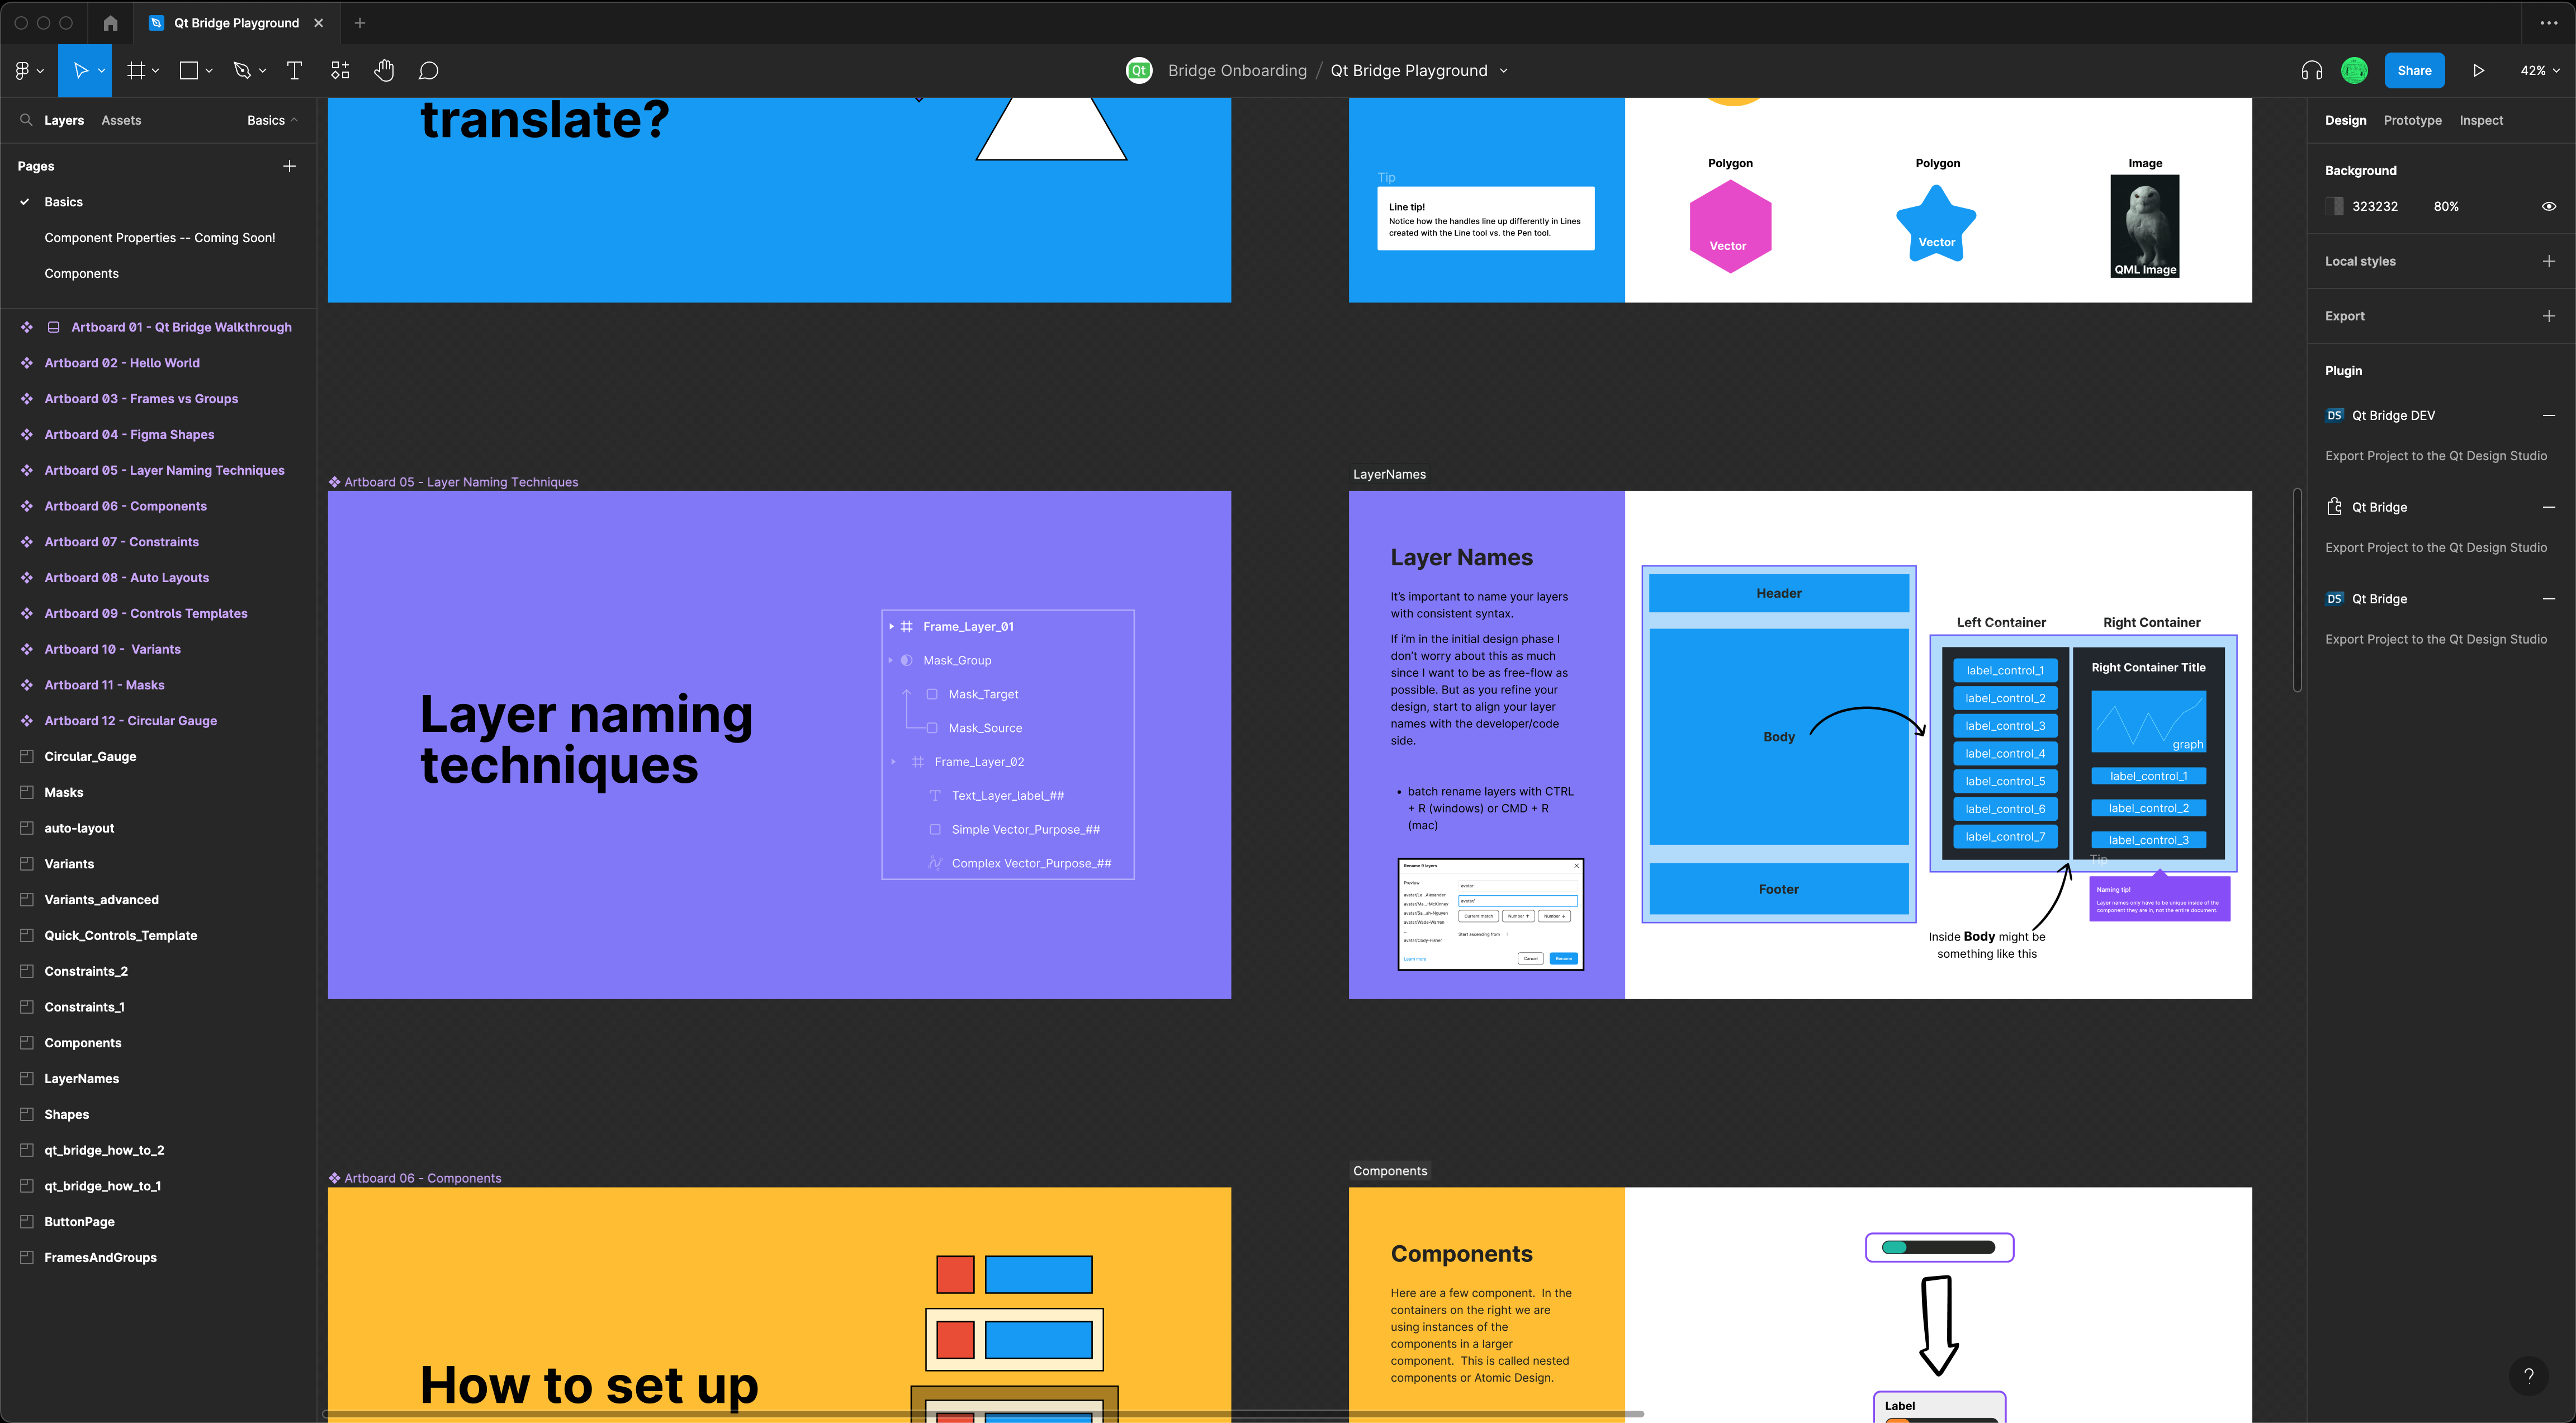
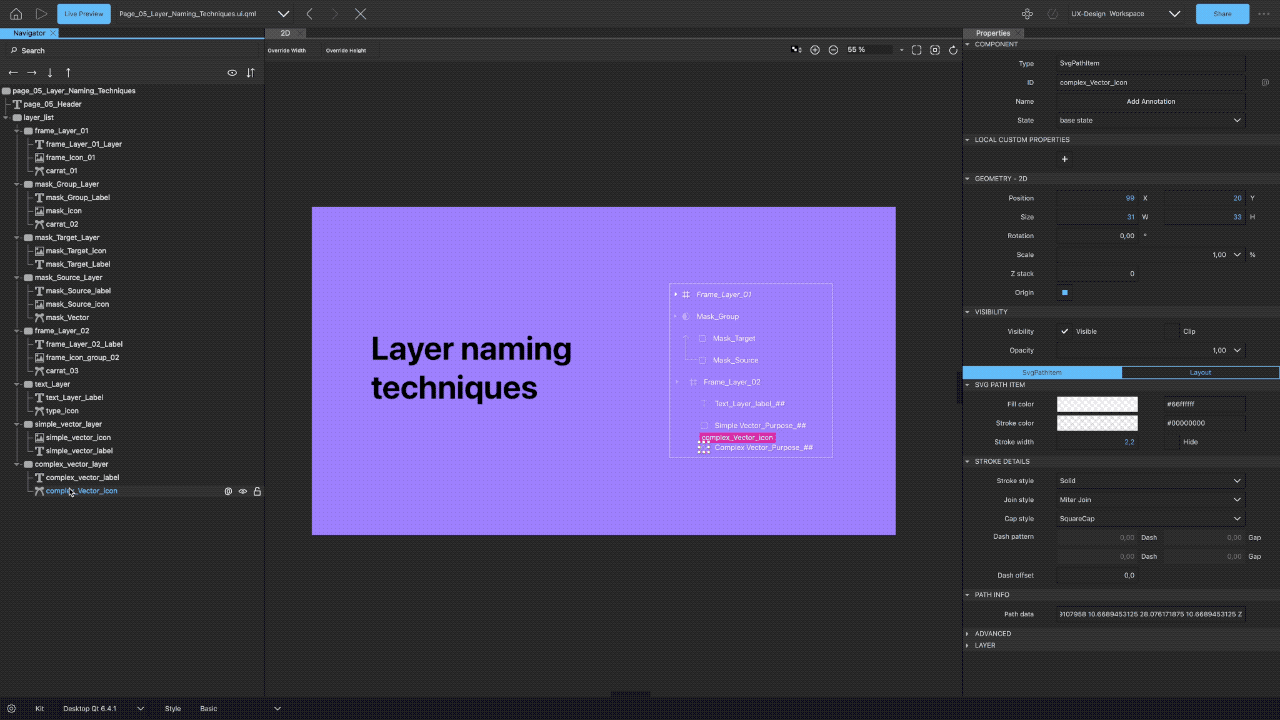
The Layer naming techniques page gives you guidance about how to organize your Figma design for Qt Design Studio.
Tip 2 - Use Components, Variants and Instances
Components are the core of your design system and really, everything in your design should be a component or an instance of one. Don't be afraid to use components inside components, building up nested components from the atomic level into more complex widgets will make it easier to keep control of your design system.
Figma variants inside a component will be converted into qml states when you import them into QtDS. This means you should be using the variants for all the different visual states of your design, you can already set the state of these components in Figma and QtDS will show you the correct state in your exported design.
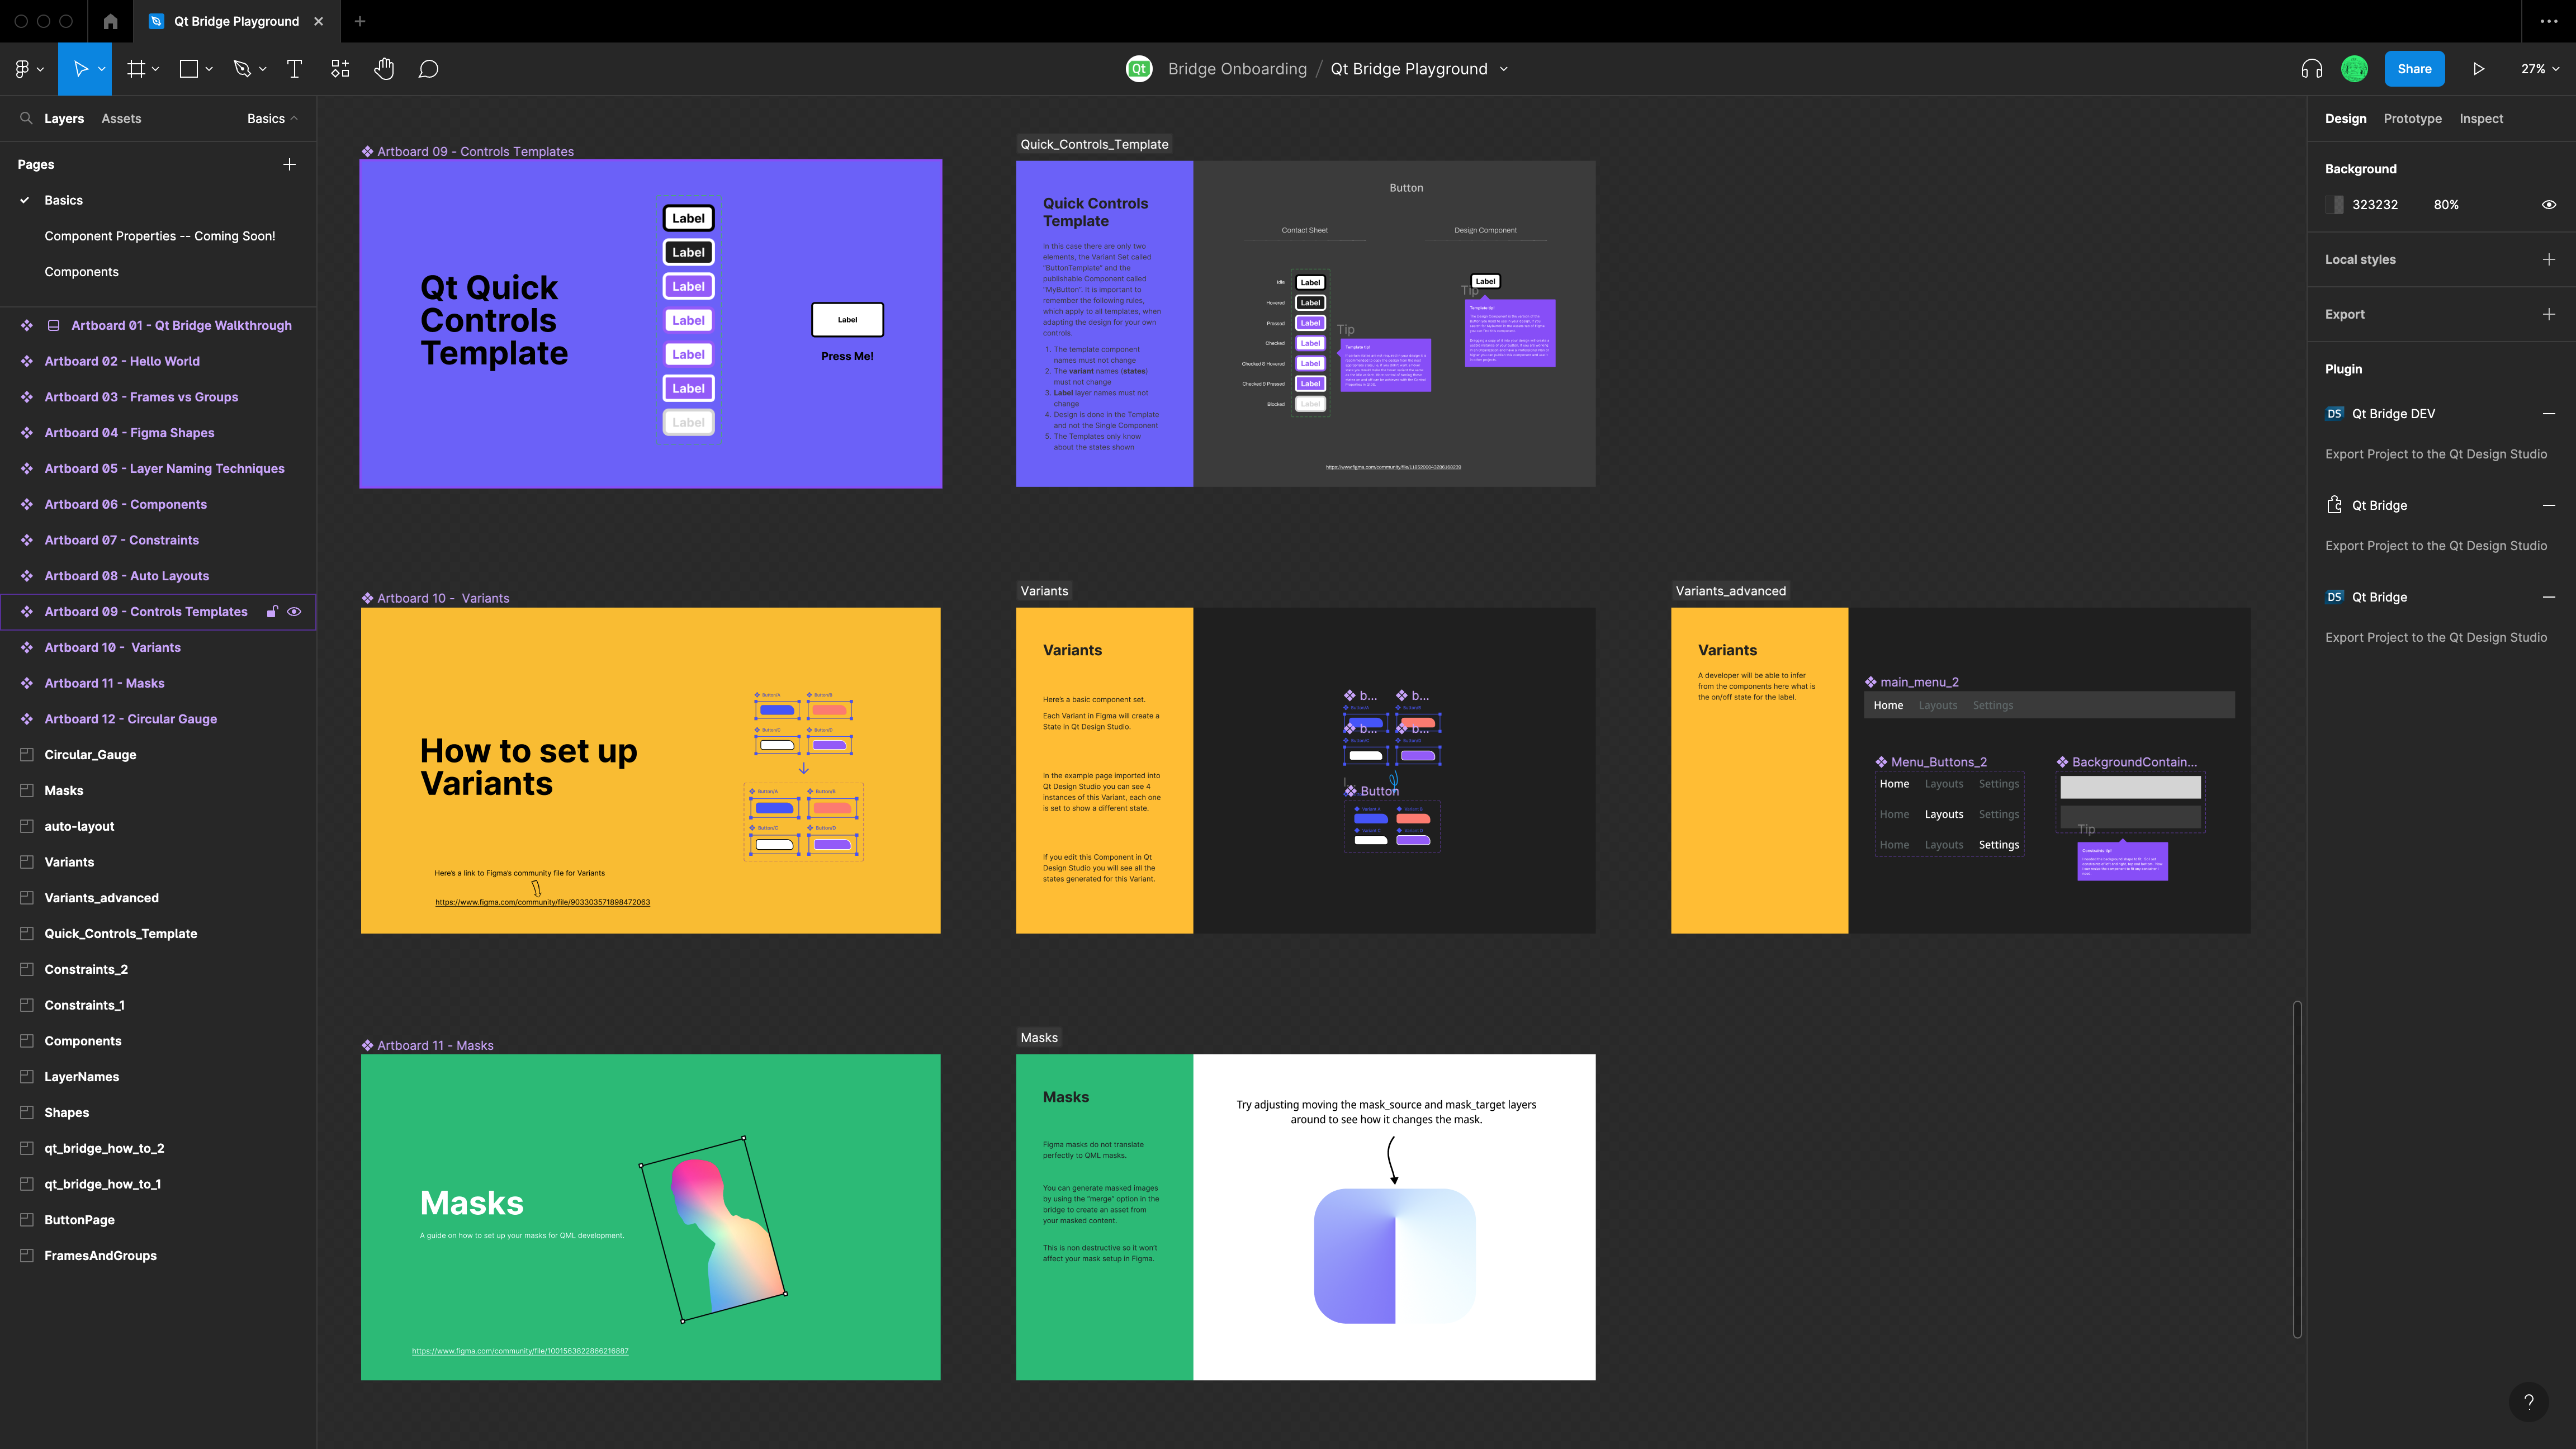
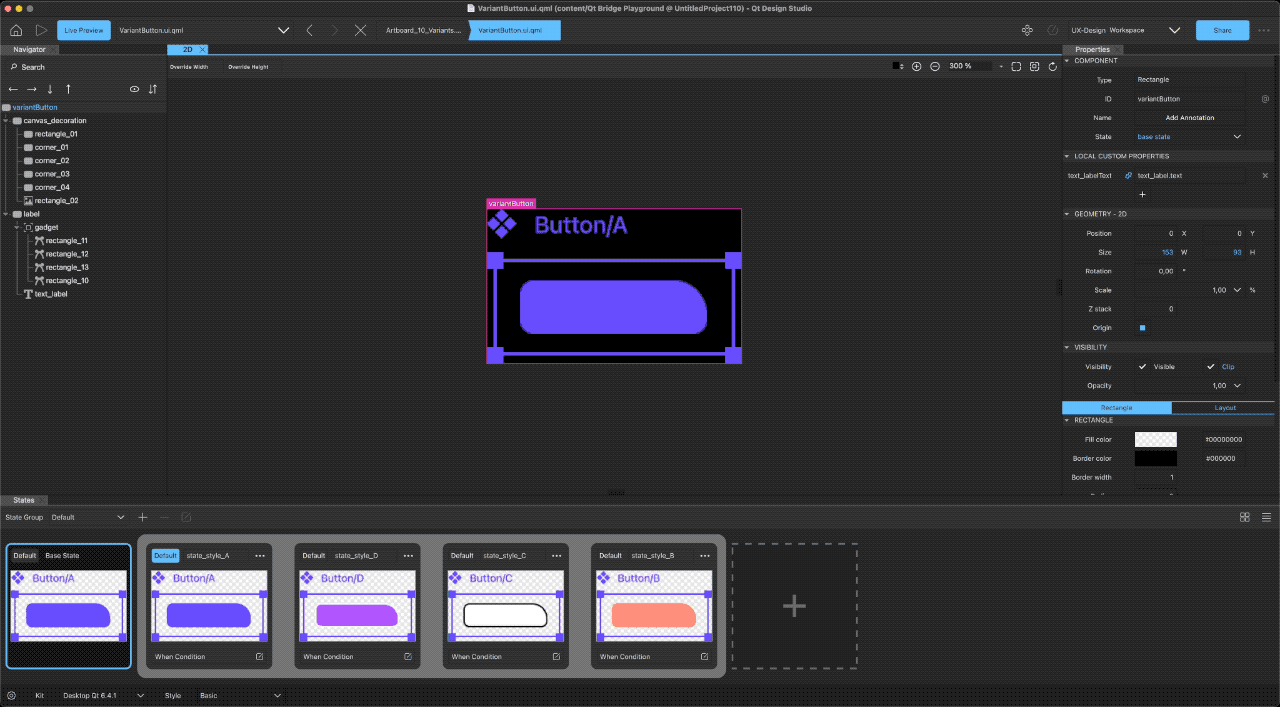
Variants get converted into qml states inside your component.
Tip 3 - Use Constraints to make your Components scalable
Constraints are crucial to creating responsive design, allowing components to be used at different scales. Adding the correct constraints to your components means that they will always work as intended in your design, Qt Bridge for Figma can automatically convert your constraints into qml anchors.
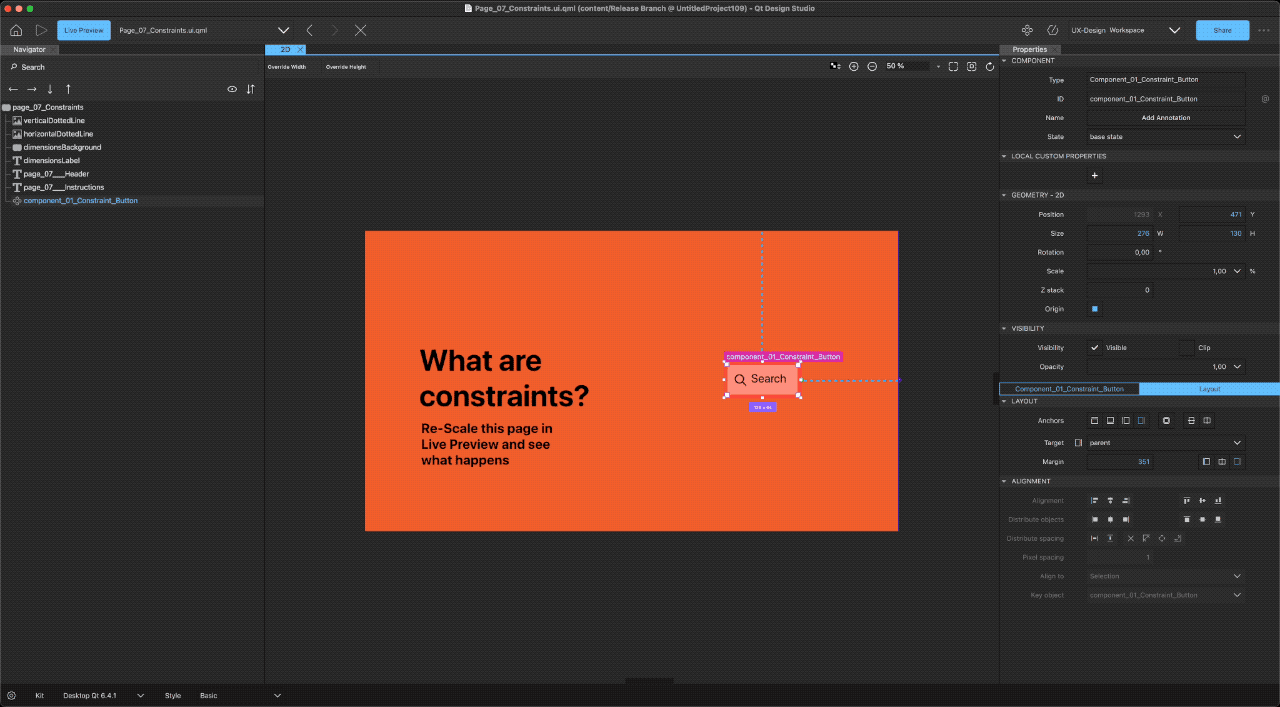
Constraints converted to Anchors create responsive design.
Tip 4 - Use Auto Layouts
Layouts are similar to Constraints, in that they will make your content responsive, the difference is that with a layout you can add or remove items to it dynamically and the layout will take care of arranging all the content within it. Qt Bridge will automatically convert your Figma Auto Layouts into Qt Quick Layouts, allowing you to build complex dynamic UI's in Qt Design Studio.
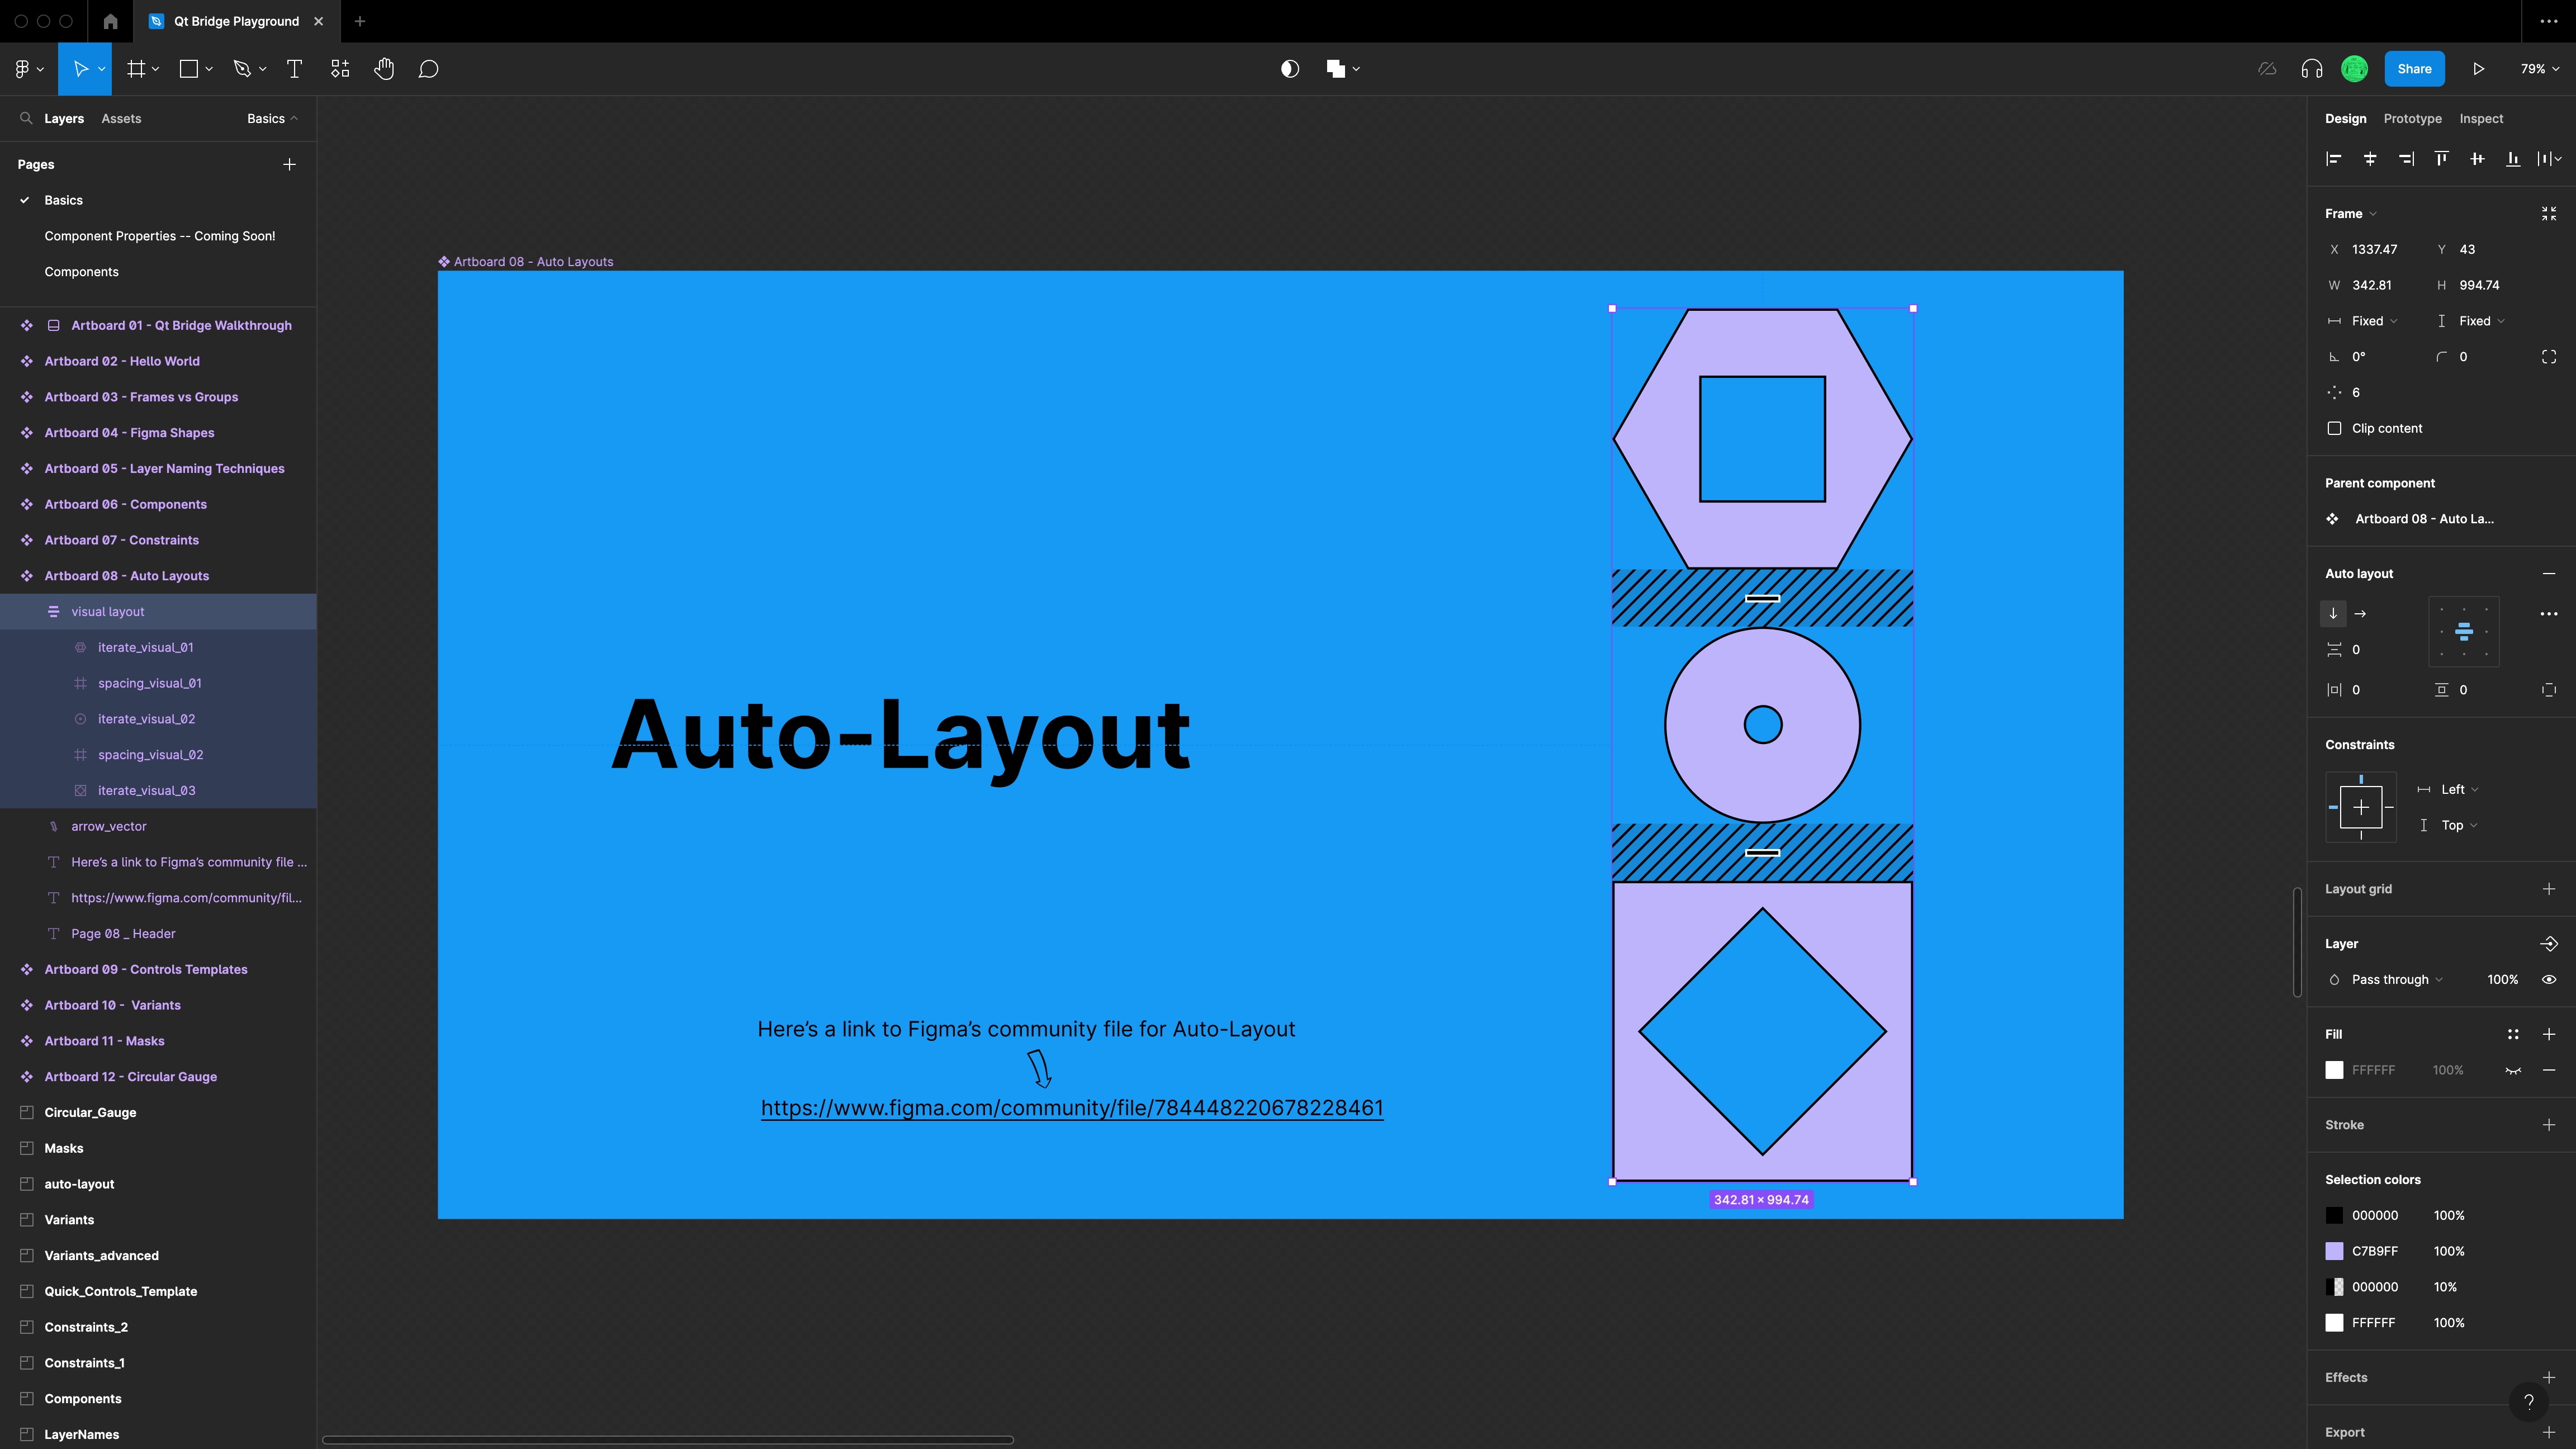
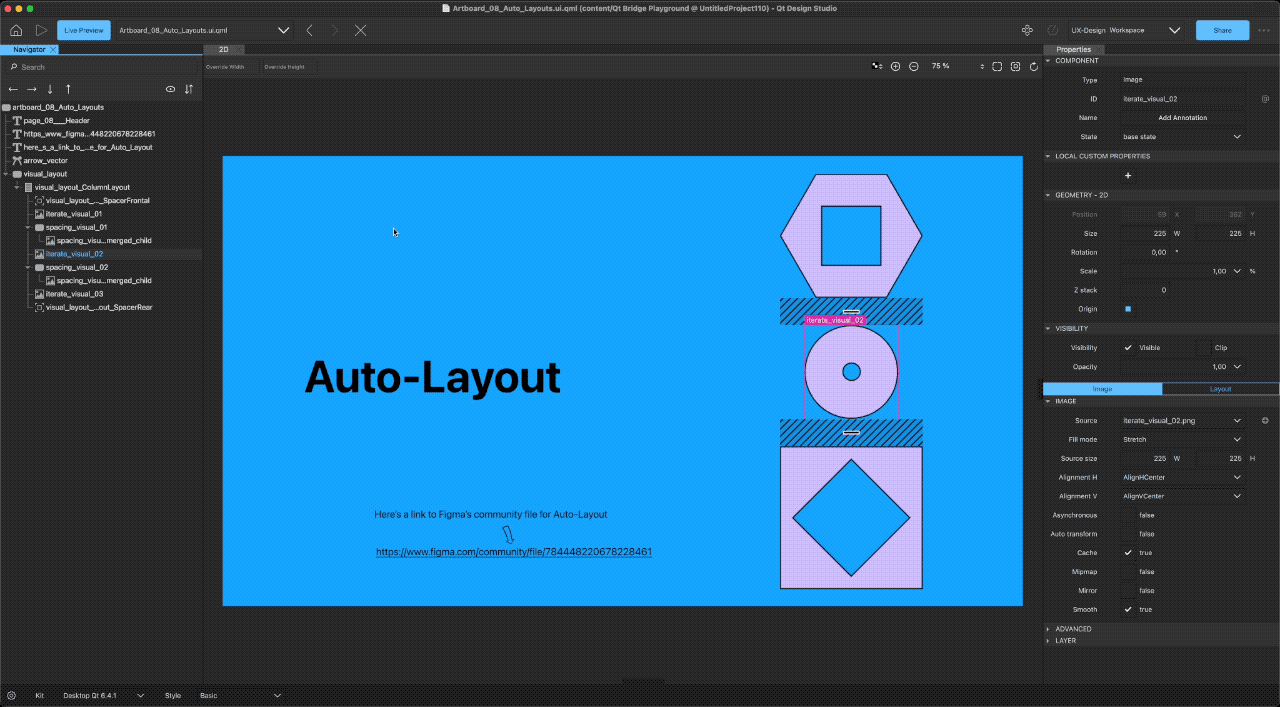
Auto Layouts converted to Qt Quick Layouts react to added or removed content.
Tip 5 - Use Libraries to publish your Components
This tip is only relevant for Designers using a paid tier but if you happen to be on a professional or enterprise plan, you really need to be using Libraries. Publishing a set of tested components means you can maintain a single source of truth for your design and trust that it will always export properly to QtDS. Figma’s publishing tools make it simple to manage what is part of a library and what is not, making it a breeze to manage large and complex projects with a vast amount of components across multiple teams and projects. Qt Bridge handles all the dependencies for you so you only export the components you need.
Figma Libraries allow you to decide what gets published, Qt Bridge can resolve all the dependencies.
Tip 6 - Use Sections to exclude design from your export
This is a quick tip but a useful one, even with the best organization there is usually some part of the design project you don’t want in the UI code itself, maybe some sketches or an experimental design that you want to come back to later. Designers can select these on their canvas and put it in a section, which Qt Bridge will automatically skip on export.
Sections are an easy way to exclude content from the export.
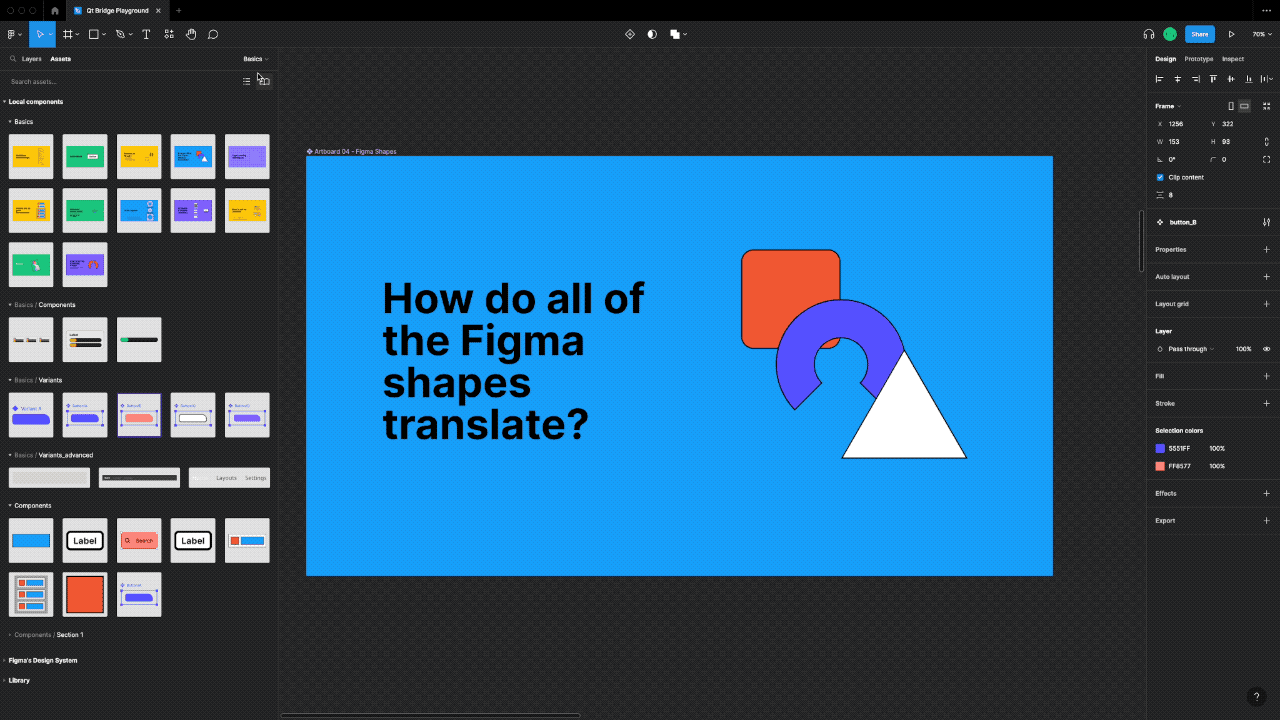
Tip 7 - Use the right Objects in Figma to get the right Asset in Qt
Not everything in your Figma file will get turned into an Asset such as a png or svg, in fact many of the "Types of Things" you can create in Figma will get translated into a native qml Type on import. So for example, a Rectangle in Figma becomes a Qt Quick Rectangle in Qt Design Studio, ellipses and arcs become their equivalent Types in qml. Vectors become SVG paths and of course Text Items become Text Items. This means you can change, create states, animate or link to another value with a binding, the various properties of this item in QtDS. Properties such as color, or font, or arc end position are not static, as they would be in a generated image asset.
If we can't find an appropriate native item to convert into, then we will fall back, as gracefully as possible, to assets.
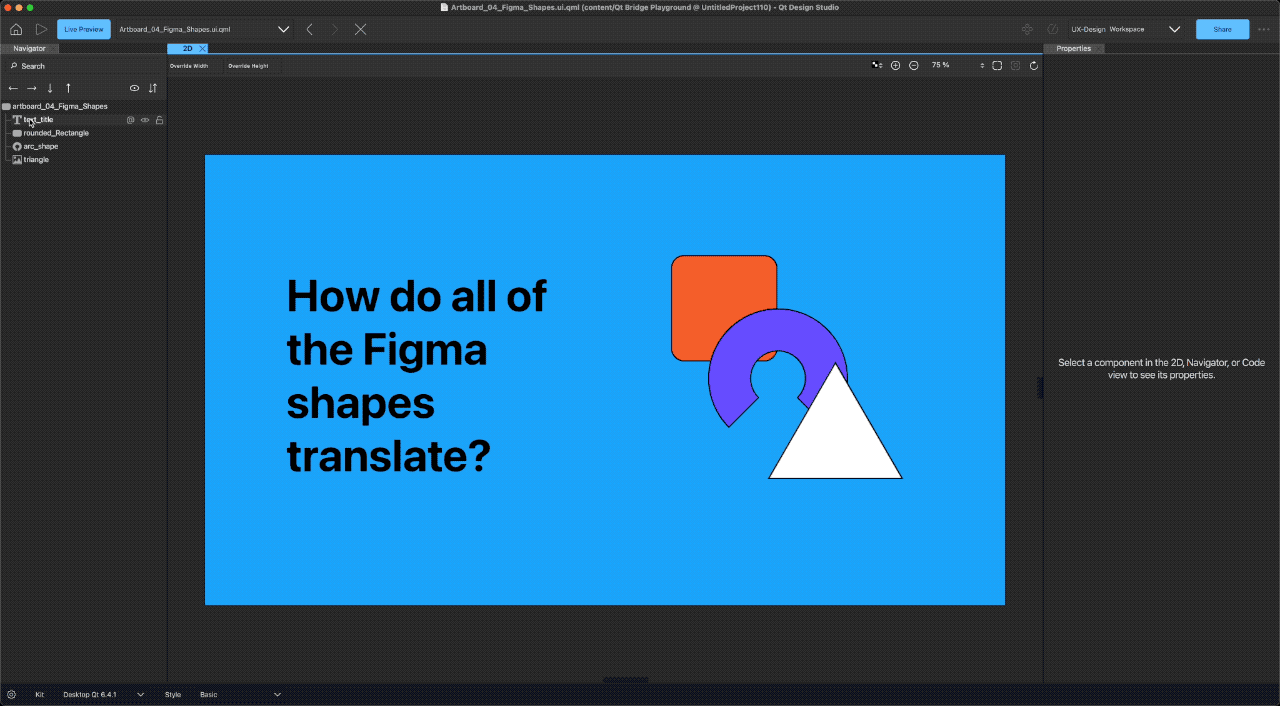
Native items have properties that can be changed further in Qt Design Studio.
Tip 8 - Use Control Templates to create Controls
Using our Control Templates brings together the best of Figma and Qt Quick Controls. Allowing you to design and re-design your control sets in Figma directly and still have the powerful features of Qt Quick Controls, without having to code anything. You can learn more about control templates in my previous blog post here:
https://www.qt.io/blog/qt-quick-control-templates-for-figma
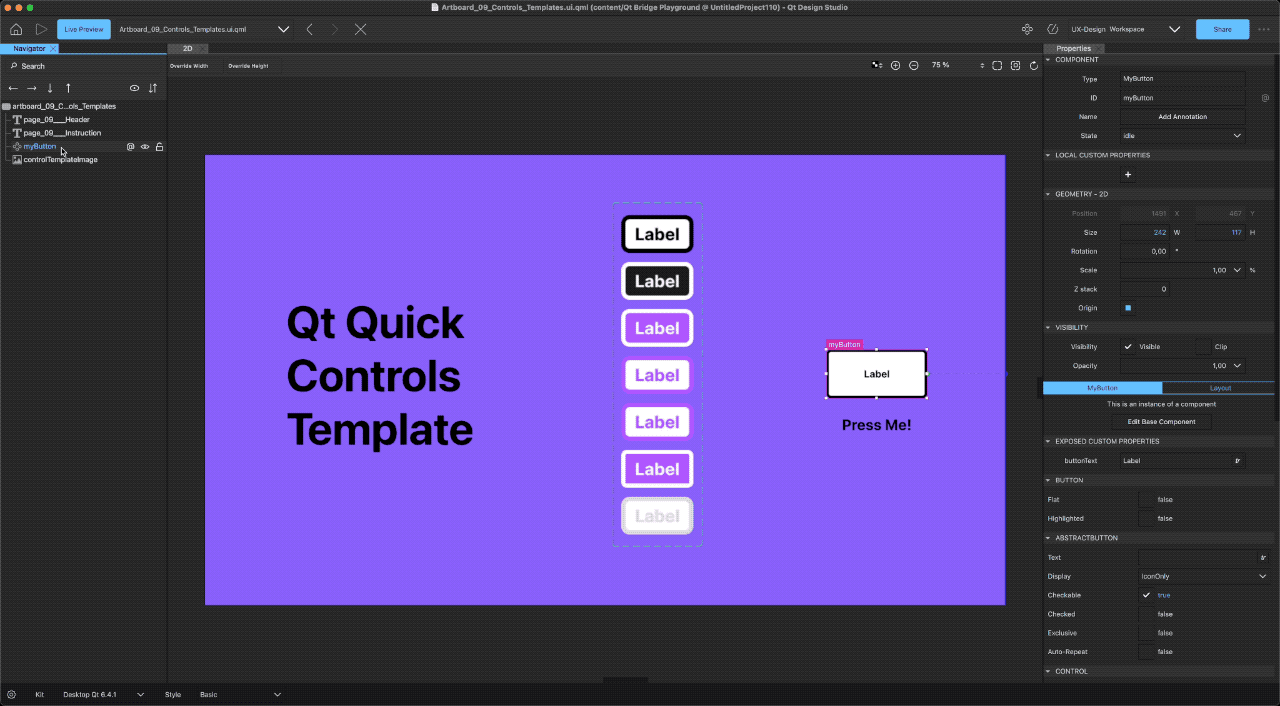
Control Templates generate working Quick Controls directly from Figma.
Tip 9 - Go check out the Project!
There’s more information and guidance there to read. Export it and look at the results in Qt Design Studio.
You can get the project by trying out the plugin here:
https://www.figma.com/community/plugin/1167809465162924409
Blog Topics
Related Articles

Introducing Qt's Figma Design System Extraction Skills for Developers
Recreating a design system manually in QML is a laborious task for a Qt..
Read Article
Qt for MCUs vs LVGL: A Comparative Study from Design to Deployment
When comparing Qt for MCUs vs LVGL, an independent study by Spyrosoft..
Read Article
AI Assisted Design in Qt Design Studio: AI Assistant Just Got Smarter
Qt Design Studio 4.8.2 ships a major upgrade to the AI assistant,..
Read Article