Dec 20, 2019
We are happy to announce that the Qt Design Studio 1.4 is now available via the online offline installers. Here’s a quick summary of the new features and functions in 1.4 release. For detailed information about the Qt Design Studio, visit the online documentation page.
Qt Quick 3D integration
Qt Design Studio 1.4 has a preliminary support for adding and editing 3D content in your application with Qt Quick 3D. Qt Design Studio can now do everything you need to set up a 3D scene. That means being able to visually lay out the scene, import 3D assets like meshes, materials, and textures, and convert those assets into efficient runtime formats used by the engine.
For additional information about Qt Quick 3D please refer to the blog post and documentation.
Importing 3D assets
Supported formats include FBX, Collada (.dae), glTF2, Blender and obj. Also converting projects done with Qt 3d Studio (.uia and .uip files) is supported. In order to import 3D assets into the project:
- Select the Resources tab
- + Add New Resources
- Select the asset file
- Define the import options (e.g. Modify global scale, Join identical vertices, Remove redundant materials)
- Go to the QML Types tab and add the imported 3D Scene to the project
- Drag the 3D object to the scene
Editing 3D Scenes
When opening a QML user interface with a 3D scene Design Studio will pop-out a 3D Edit View which allows you to manipulate the scene with familiar tools: move, rotate and scale.
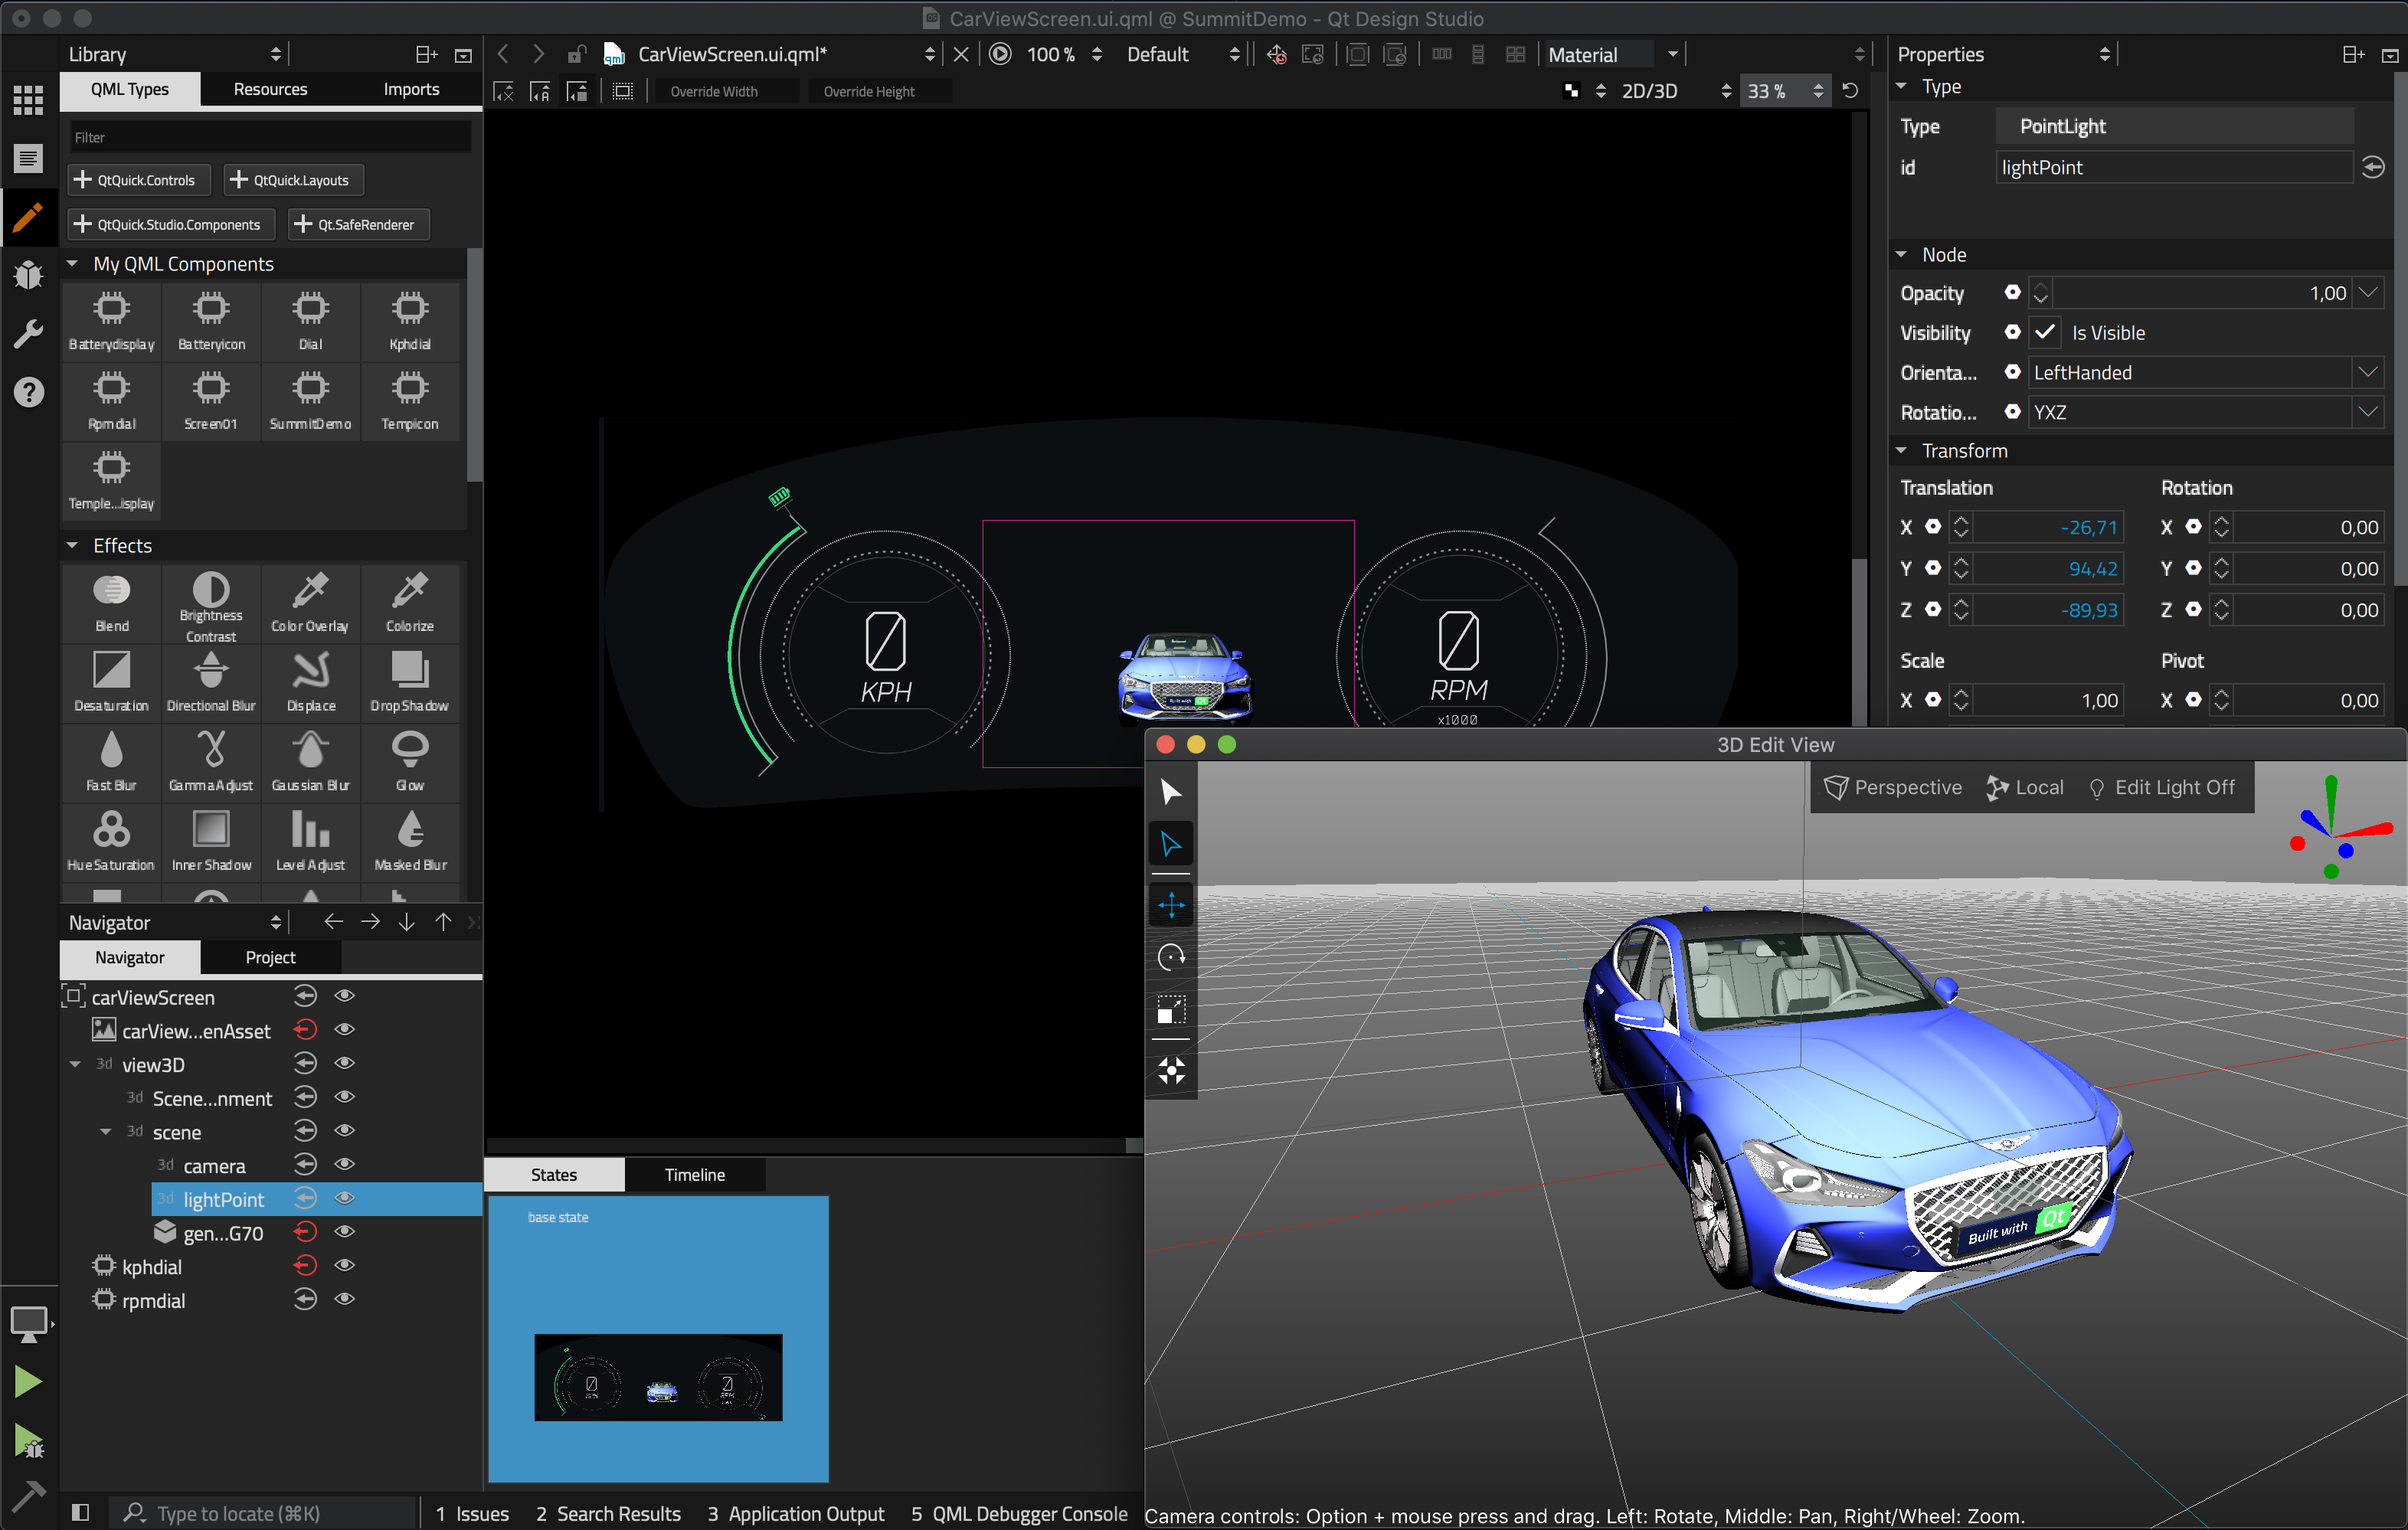
This makes it really easy to synchronize any 3D content with 2D content as you can always see the scene camera view with the 2D editing view. Naturally you can also use the property pane to modify the object properties.
Other Features
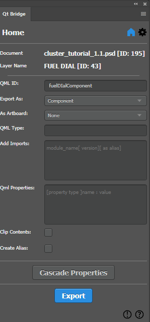 Photoshop and Sketch bridges
Both Photoshop and Sketch bridges have gained a lot of improvements and bug fixes.
One notable feature we added to the Photoshop bridge is the ability to cascade the properties to child layers. This has been requested by many customers. Before it was really cumbersome to adjust or change properties like 'Export As' for multiple items in Photoshop, because the bridge does not support multi-selection due to restrictions in the API.
Please also see the webinar presentation about how to use Sketch exporting:
Align and Distribution tools
Another feature we added to Qt Design Studio 1.4 is align and distribution tools, similar to other 2D design tools.
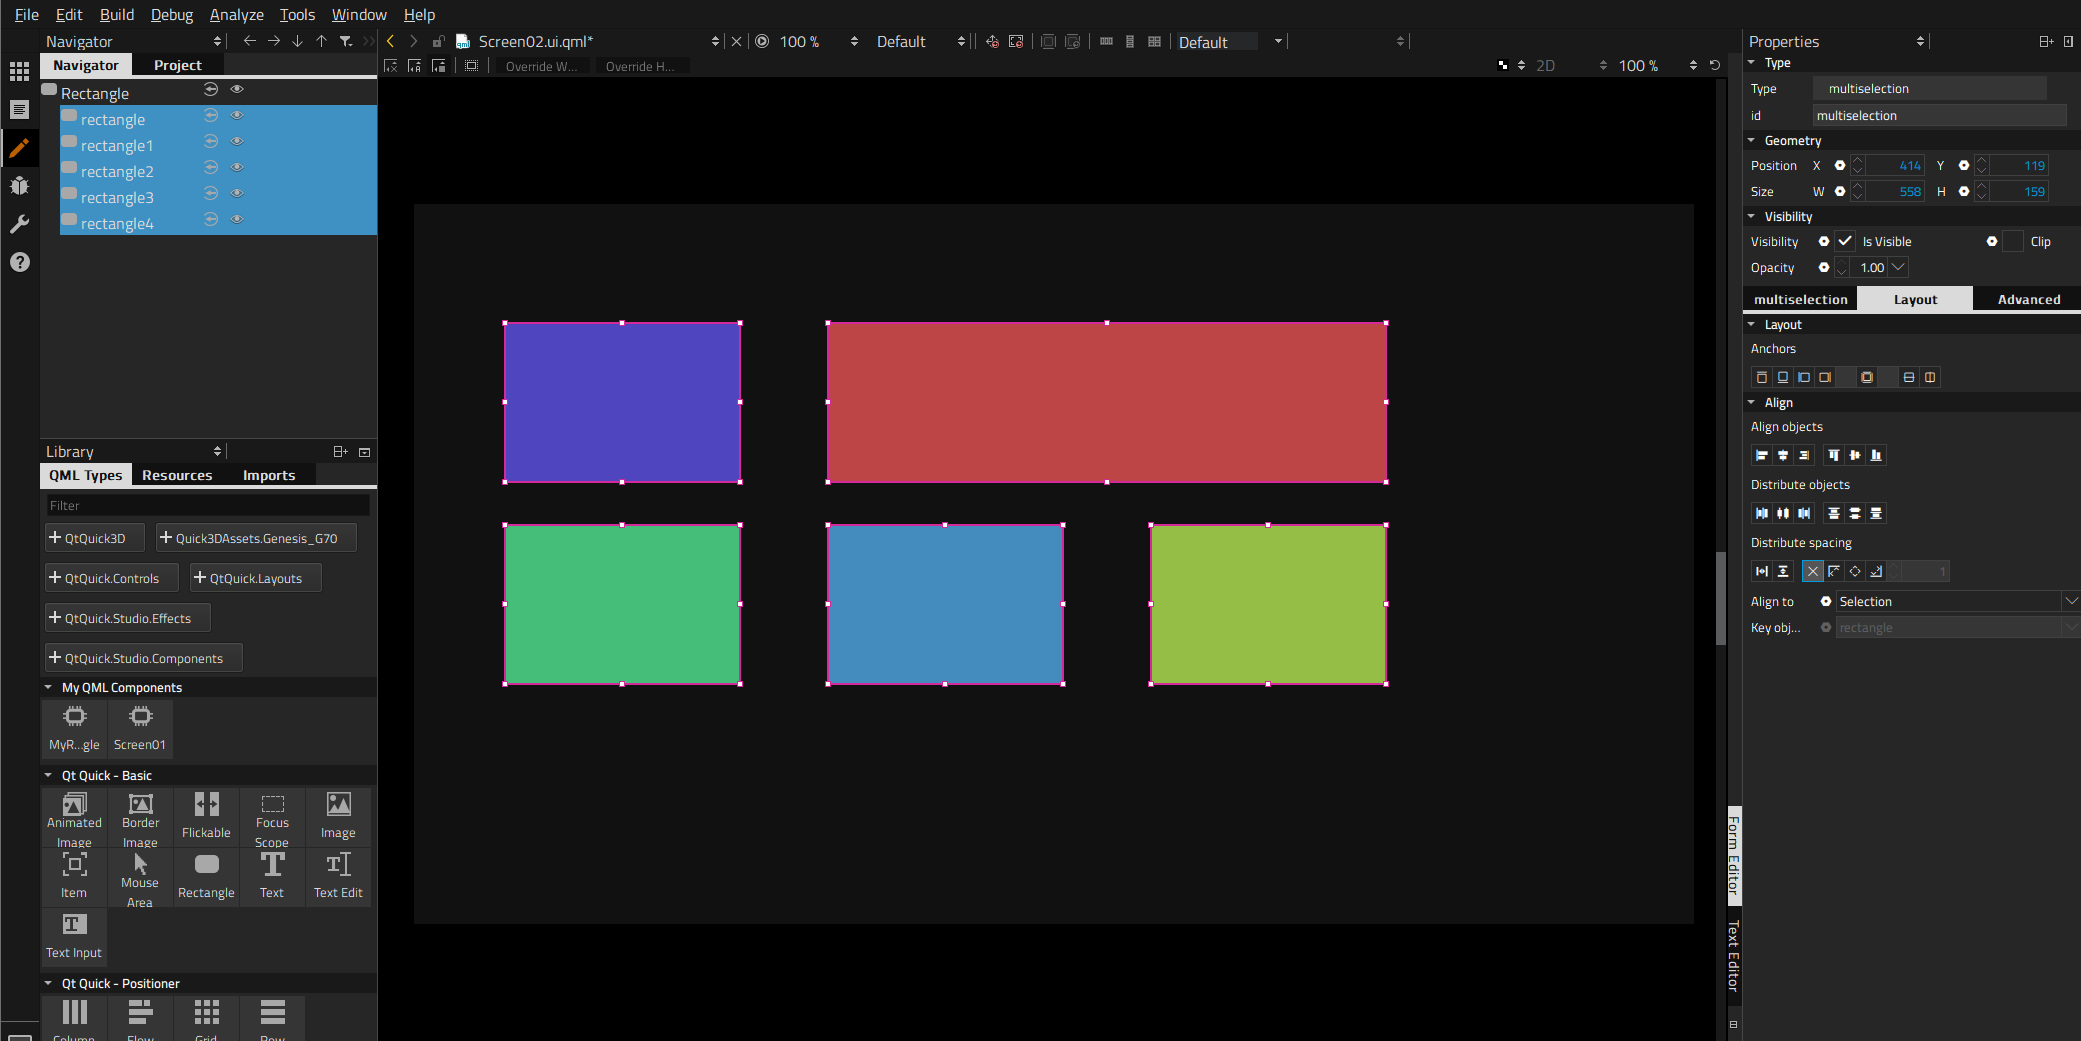
This makes it more convenient to create complex layouts and to automatically line up and space items. This means instead of manually aligning and distributing the items you can now use the align and distribution tools from the layout section in the property editor.
Binding editor
If you want to bind properties it is not required to write the bindings in a text editor anymore. Instead you can choose items and their properties directly from combo boxes.
First you have to choose the item the property belongs to and then the specific property. The binding editor will only offer properties with the same type. This way adding bindings becomes even easier.
Bug Fixes
Last but not least many bugs were fixed for Qt Design Studio 1.4. To learn more about the improvements and fixes in Qt Design Studio 1.4, you can check out the changelog.
With Qt Design Studio 1.4 there is also a free community version available, which lacks the Photoshop and Sketch bridges, though. The Qt Design Studio 1.4 Community Edition can be found here.
Getting Started
You can find the latest online documentation for Qt Design Studio 1.4 here. The documentation is also available from inside Qt Design Studio. For Qt Design Studio we created tutorials as part of the documentation.
The welcome page of Qt Design Studio contains examples and links to video tutorials to help you get started.
The 3D editing feature is still work in progress and has some rough edges. All feedback highly appreciated. Please post issues you find or suggestions you have in our bug tracker.


