We are happy to announce the release of Qt Design Studio 2.0.
Qt Design Studio is a UI design and development tool that enables designers and developers to rapidly prototype and create beautiful experiences. Both designers and developers use Qt Design Studio and this makes collaboration between the two a lot simpler and more streamlined.
To get an impression, you should watch this new video created for Qt Design Studio 2.0. For detailed information about Qt Design Studio, visit the online documentation page.
For Qt Design Studio 2.0 we concentrated on improving the user experience. We made many improvements to the UI. Finally, it is possible to lock items to protect them against unintended changes. The navigator got many usability improvements, we added a rotation tool and many small issues got fixed. For more details please refer to the beta blog post.
Telemetry and Crashpad Support
Qt Design Studio 2.0 comes with a crash reporter based on Google Crashpad.
Crashpad is a mechanism for capturing, storing, and transmitting postmortem crash reports from an application to an upstream collection server. We use Sentry as the backend service.
By default, Crashpad does not upload the generated crash reports, since it captures arbitrary contents from the crashed Qt Design Studio process memory. Therefore the dump could contain confidential information like e.g. project names. Therefore we must ask for consent and Crashpad has to be explicitly enabled, to upload the generated crash reports. Users are also able to share the locally generated crash reports manually with the Qt Support team.
The rationale behind this is that it is an unfortunate truth that any large piece of complex software will contain bugs that will cause it to occasionally crash. Even in the absence of bugs, drivers and incompatibilities can cause Qt Design Studio to crash.
We think that collecting crashdumps automatically is the best solution to this problem. It relieves the burden of manual reporting from users while capturing the hardware and software state at the time of the crash.

We kindly ask our users to enable Crashpad to help us to improve the quality and stability of Qt Design Studio.
With Qt Design Studio 2.0 we also ship the Telemetry Plugin that is already an optional part of Qt Creator installations. The Telemetry Plugin is disabled by default and has to be explicitly enabled by the user. The Telemetry Plugin will collect pseudonymous information about your system and Qt Design Studio usage. No personal data, such as names, IP addresses, MAC addresses, or project and path names are collected. However, QUuid objects are used to identify data records that belong to a particular user.

If you accept, all collected and transmitted data is fully transparent to you. You can change the settings for collecting and transmitting data at any time. By default, no data is collected and you have to select a telemetry mode for data collection to begin. For more details please refer to the documentation.
The Telemetry Plugin is using the Open Source library KUserFeedback.
The goal of the Telemetry Plugin is to learn more about how users use Qt Design Studio. We track the frequency and usage time of particular features within the application. By providing this data to us, the users help us to improve future versions of Qt Design Studio. We get a better understanding of how our users use the product and how important a particular feature is.
Therefore we kindly ask our users to also enable the Telemetry Plugin to help us to improve the quality of Qt Design Studio and to better understand our users.
Thumbnail Generation
A really useful addition is the generation of thumbnails for custom components. This means that custom components have an icon that visually resembles the component and Qt Design Studio provides a tooltip with a full preview. This helps to find the correct component and makes it more convenient to get an overview of the project and its structure. This is especially useful for large projects.
Technical Preview of Qt Bridge for Figma
With Qt Design Studio 2.0 comes a technical preview of a Qt Bridge for Figma. Figma is an interface design application with an emphasis on team collaboration.
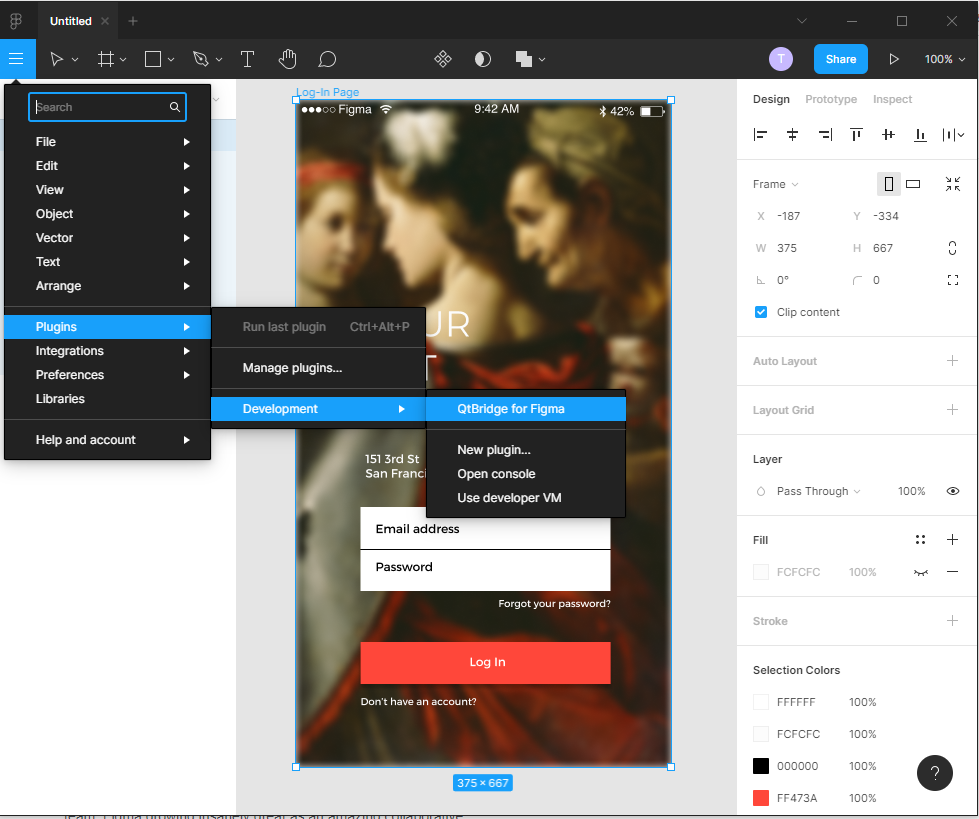
The Qt Bridge for Figma is delivered with Qt Design Studio as a developer plugin that you can install to the Desktop version of Figma. To install the plugin you have to open the Plugin Manager of Figma and press the plus button to "Create new Plugin". Then you have to choose the Manifest.json file that comes with Qt Design Studio. After installing the plugin it can be found under Plugin/Development/QtBridge for Figma. The Qt Bridge for Figma allows users to seamlessly import their designs to Qt Design Studio from Figma. The feature set of the Qt Bridge for Figma is very similar to the Qt Bridge for Sketch and components are already supported. Qt Design Studio also supports import/export from other 2D and 3D graphical design tools.
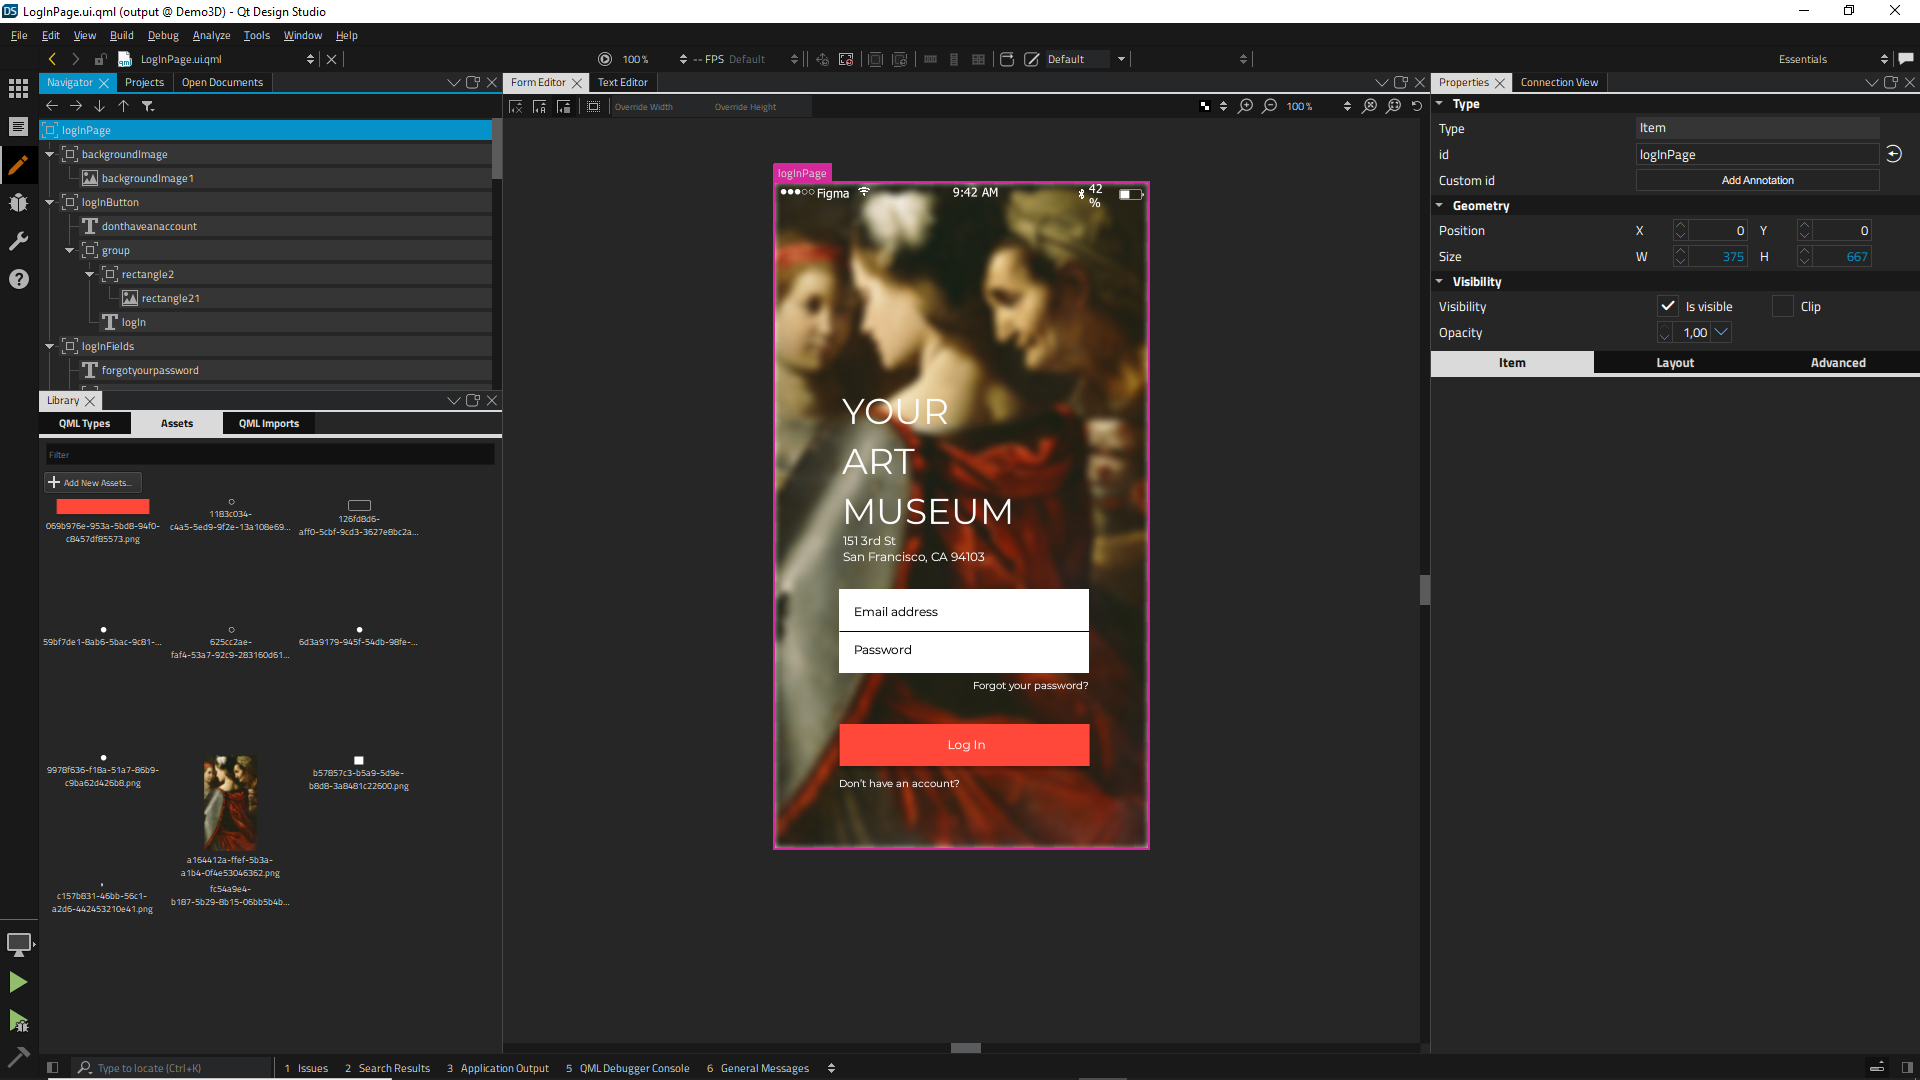
As you can see in the screenshots importing reasonable complex files from Figma to Qt Design Studio does already work. The latest documentation for the Qt Bridge for Figma can be found here.
Please note that Qt Bridge for Figma exports everything to a single archive. Before importing the project into Qt Design Studio you have to manually extract the archive. Then the .metainfo file can be imported. Please refer to the documentation for details on how to import 2D designs into Qt Design Studio.
2D Effects Redesign
With Qt Design Studio 2.0 we also changed the way 2D effects work in Qt Design Studio. The new way of how effects work is more aligned with the Qt Quick framework and also more intuitive.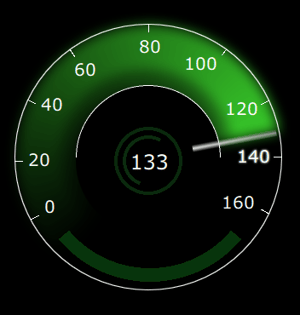
Effects are no longer Qt Quick Items and are not part of the item hierarchy. Instead, effects are children of the item they affect. This makes adding effects like blur, glow, or masks easier. Effects can now simply be dragged in from the Item Library and dropped on the target item.
Stacking effects in a single item is not supported. If a user wants to apply multiple effects it is required to stack multiple items with one effect applied to each item.
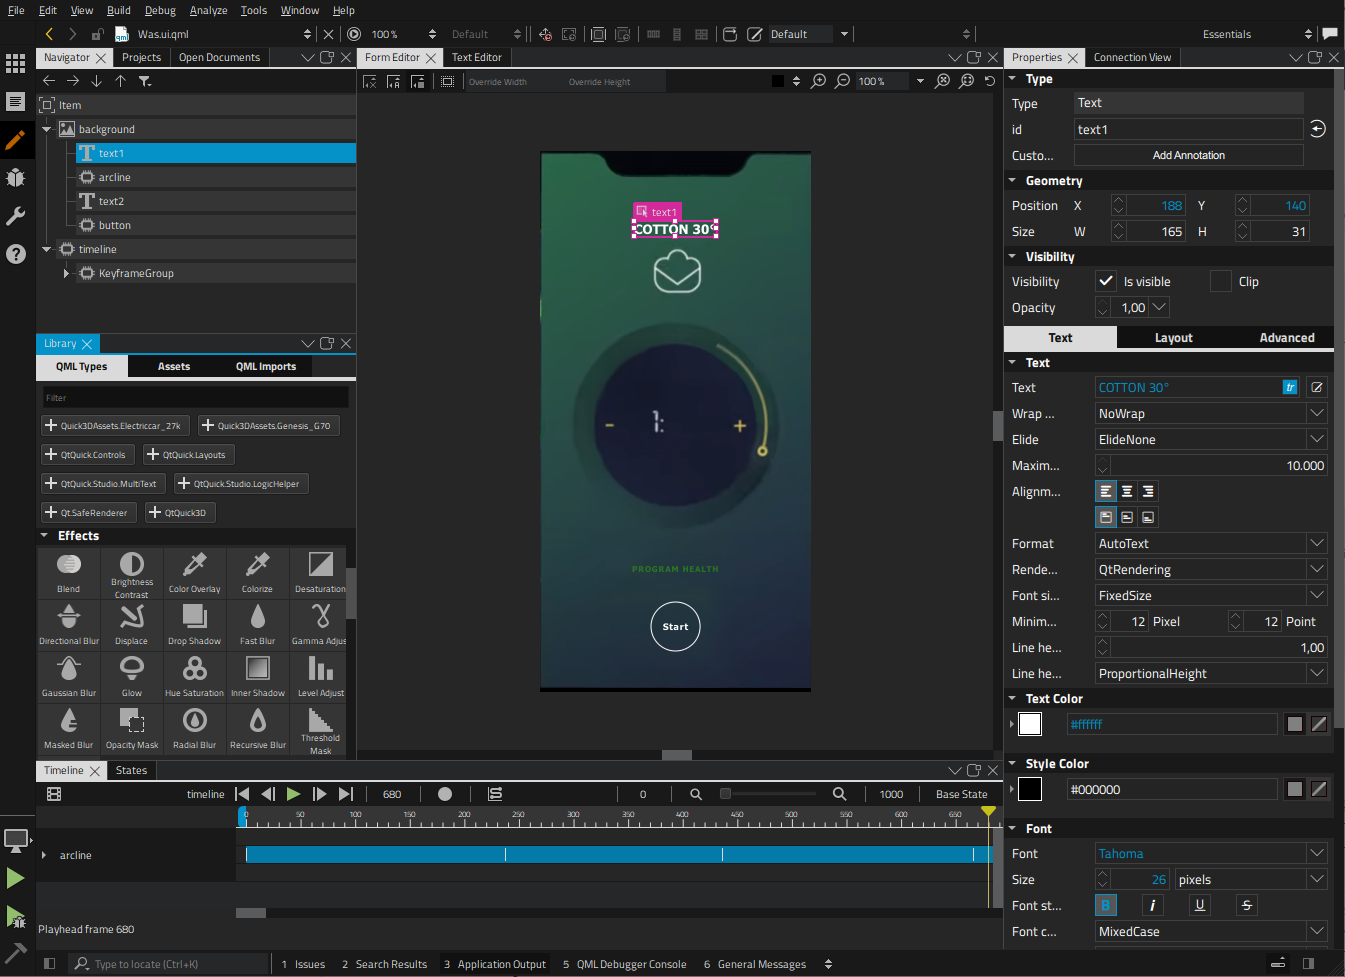
Logic Helper
To make it easier to perform certain operations without having to write code we added a few Logic Helpers to Qt Design Studio. Once you add the import you can see the elements in the Item Library. These items can only be dragged into the navigator because they are not visible items. The Logic Helpers make it easy to setup Bi-Directional Bindings, map numbers to strings with a defined precision.
In practice, this means that Qt Design Studio 2.0 now provides convenient building blocks that replace the occasional usage of JavaScript expressions for conditions or to properly convert numbers to strings. Instead of having to write JavaScript code in the binding editor the user can now simply use these building blocks.
The Logic Helpers also allow to define conditions without having to write JavaScript code and make it possible to map the range of e.g. a Timeline to a custom range of a gauge.
MCU support
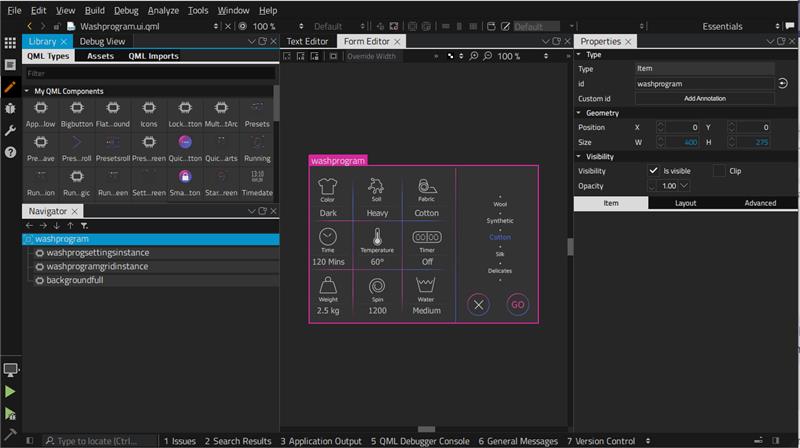
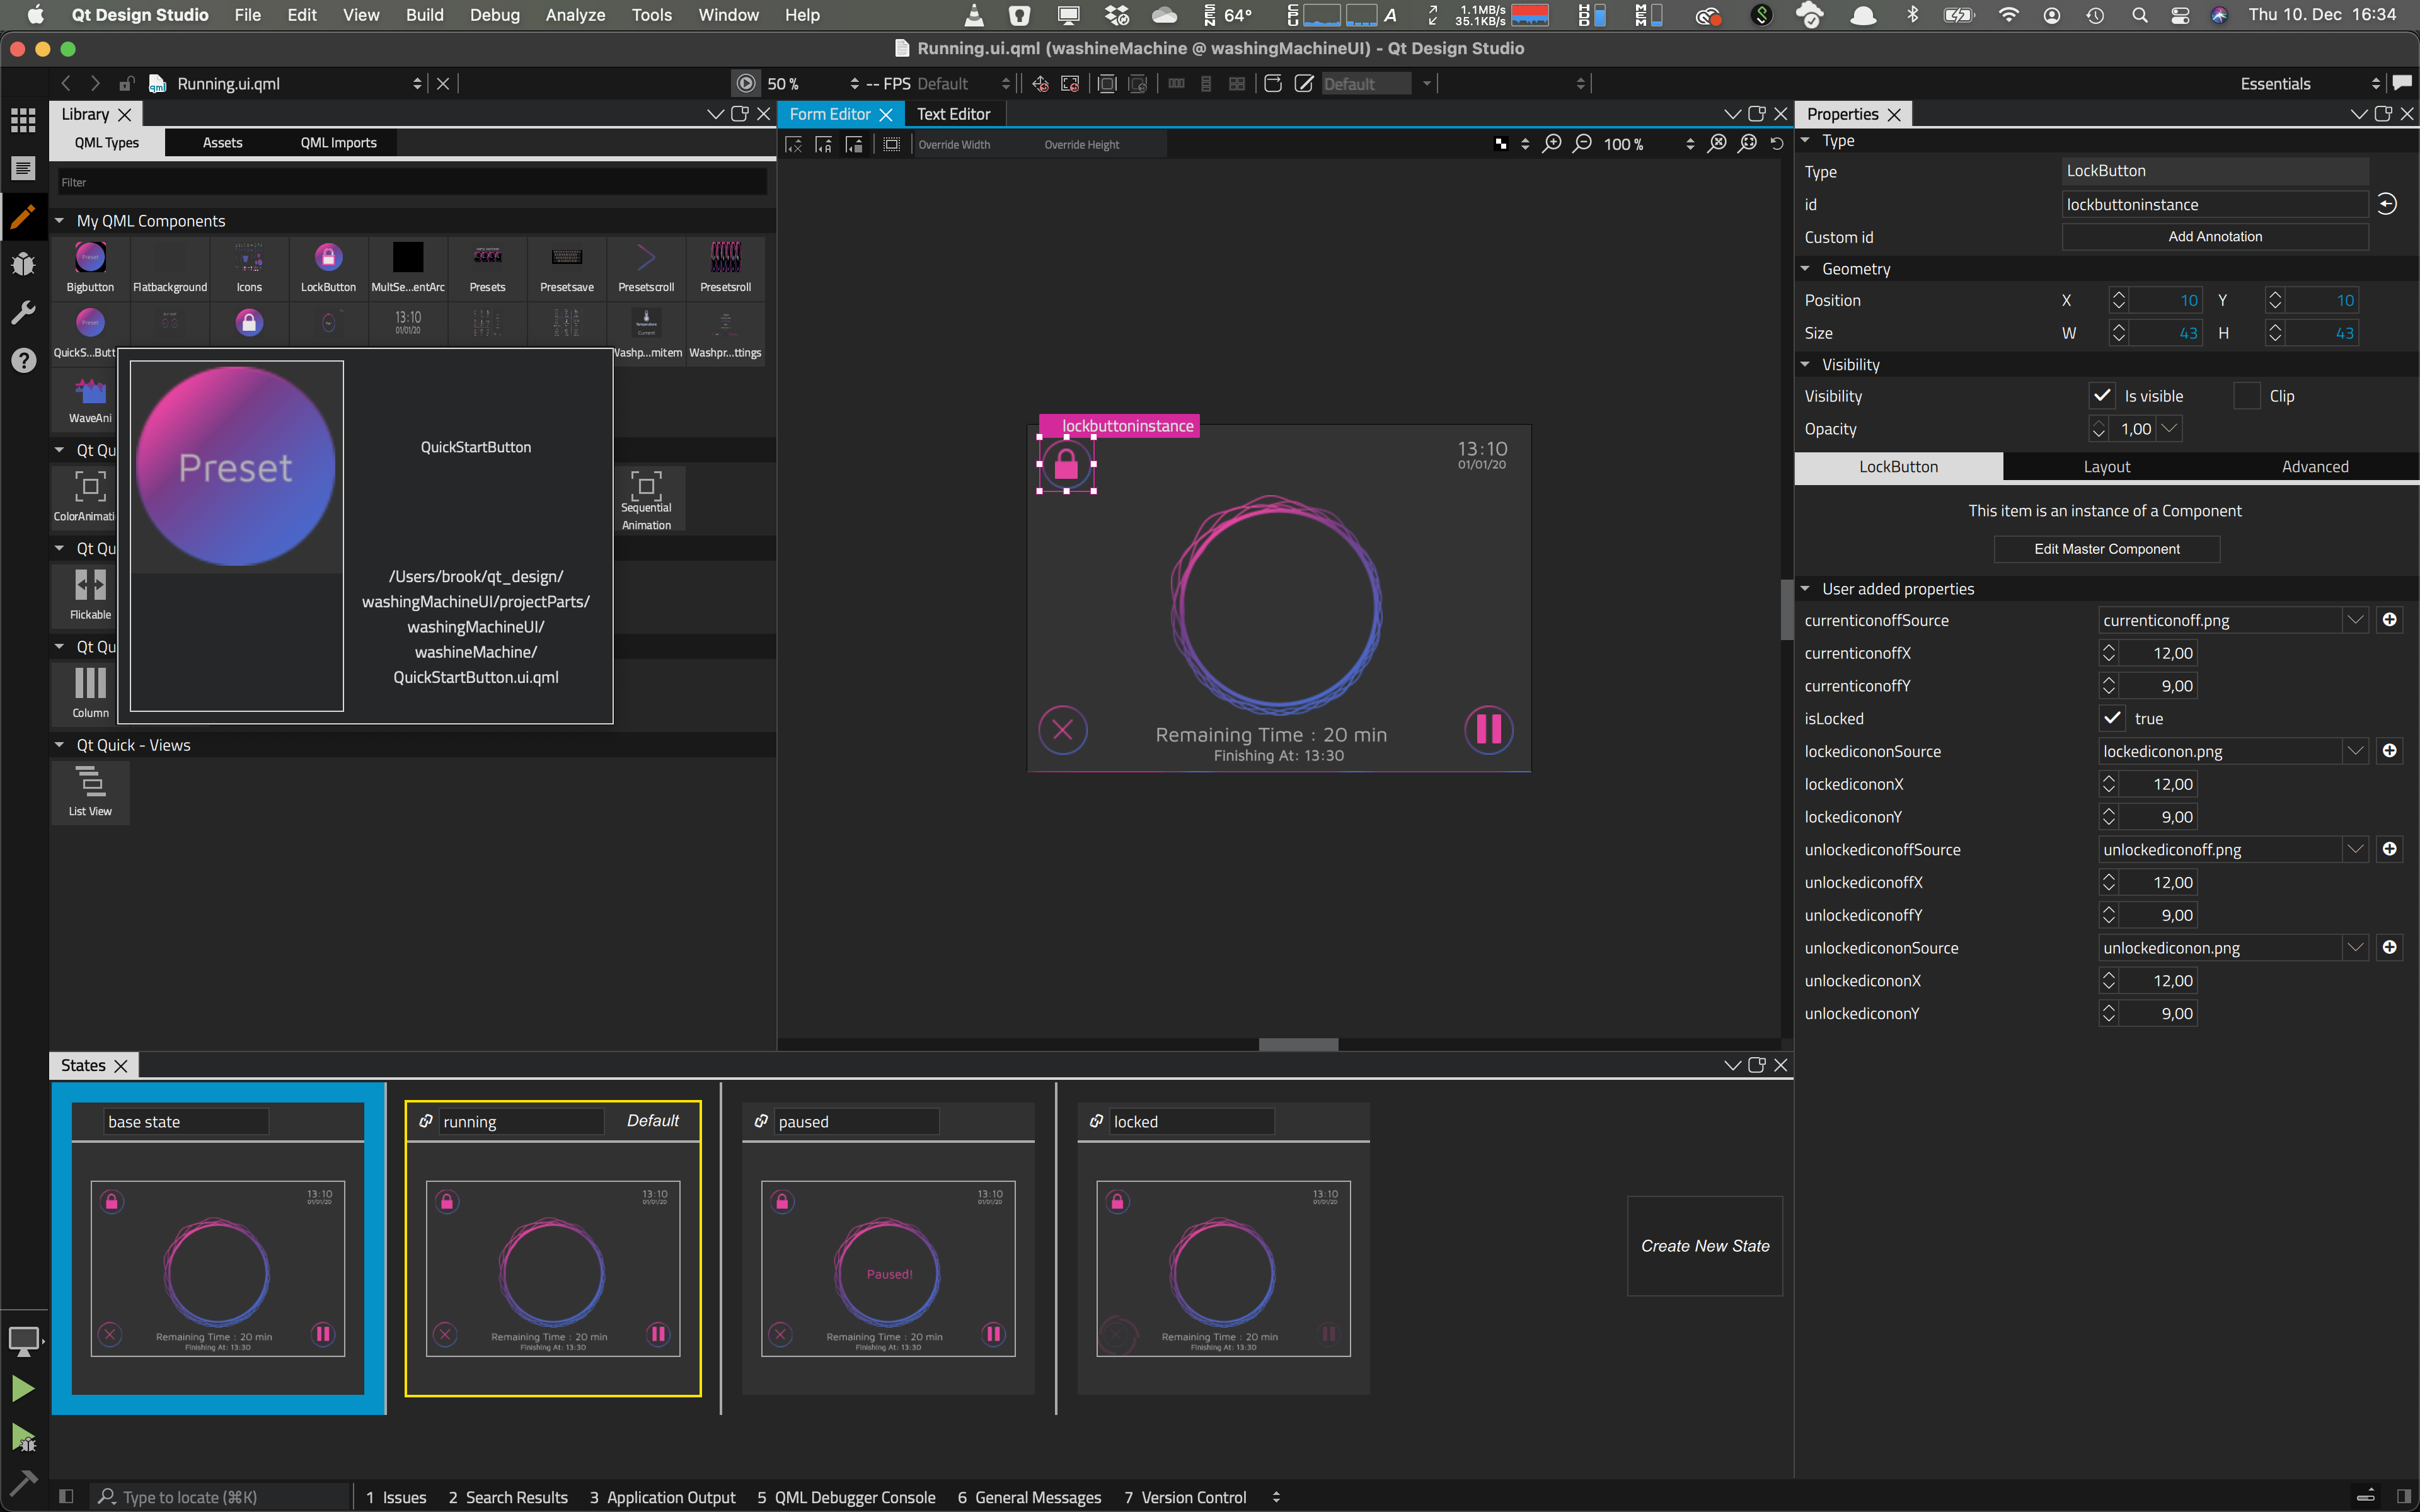
Qt for MCUs 1.6 is now available and Qt Design Studio supports creating projects that are limited to the feature set of Qt for MCUs. If the user creates a Qt for MCUs project using the correct wizards, features that are not available for Qt for MCUs, will be also disabled in the UI. This includes many imports, everything related to Qt Quick 3D, but also many properties in the property editor will be disabled.
This makes it possible to fully leverage Qt Design Studio when developing projects for Qt for MCUs. We developed the UI for a washing machine that you can find here. The purpose of this demo is to show how applications targeting Qt for MCUs can be devloped using Qt Design Studio. Our washing machine demo is also an example of an application that runs on Qt for MCUs but also works as expected with normat Qt. The demo is developed in the subset of QML and Qt Quick that is supported on all platforms.
Experimental Qt 6 support
Qt Design Studio 2.0 also comes with experimental support for Qt 6. While Qt Quick based projects developed with Qt Design Studio also work with Qt 6, there are a few differences on the Qt Quick 3D side.
Since the actual rendering and instantiation of components is done in an external process (qml2puppet), this process can be build with Qt 6 for full compatibility.
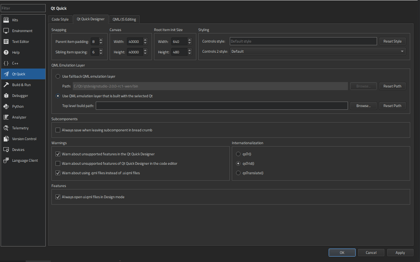
To get this to work, you have to install Qt 6 and create a Kit in Qt Design Studio. Now you have to enable Use QML emulation layer that is built with the selected Qt in the options. If you now choose the Qt 6 Kit for a project Qt Design Studio will build a qml2puppet based on Qt 6. The rendering and QML emulation is then based on Qt 6.
Please keep in mind that this is only intended for advanced users, that care about some of the differences in Qt Quick 3D between Qt 5 and Qt 6. If you develop 2D Qt Quick applications, then Qt 5 and Qt 6 are fully compatible.
High-End IVI Demo
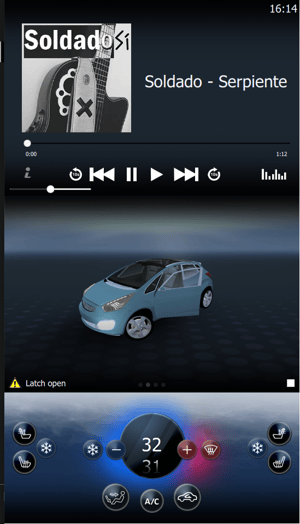 During the development of Qt Design Studio 2.0 we also worked on a High-End IVI Demo.
The demo is available from our GitLabs server. This demo essentially implements an IVI System and showcases many features of Qt Quick and Qt Quick 3D.
If you checkout the demo you get also access to the original assets, to get a clear idea of how the demo was designed and developed.
The purpose of this demo is to show how advanced effects using custom shaders can be implemented and how to integrate 3D content with 2D content.
This demo is still actively worked on and will be updated in the future.
Getting Started
Qt Design Studio 2.0 is available under a commercial license or as a free community version through the online installer and your Qt account. The Photoshop and Sketch bridges are included in the commercial Qt for Design Studio license but can also be purchased separately via the Marketplace, and used with the community version for GPL/LGPL projects.
The commercial Qt Design Studio 2.0 is available under Tools > Qt Design Studio 2.0 in the online installer.
You can find the latest online documentation for Qt Design Studio 2.0 here. The documentation is also available from inside Qt Design Studio.
For Qt Design Studio we created tutorials as part of the documentation.
The welcome page of Qt Design Studio contains examples and links to video tutorials to help you get started.
Please post issues you find or suggestions you have in our bug tracker and leave us feedback in our survey.