Apr 20, 2020
Why a Benchmark Application?
With the upcoming release of Qt 5.15 and an improved version of Qt Quick 3D with it, we wanted to offer our customers and other users a way to easily test the capabilities of their hardware. That is how creating the Benchmark demo application got started.
What Can I Do With It?
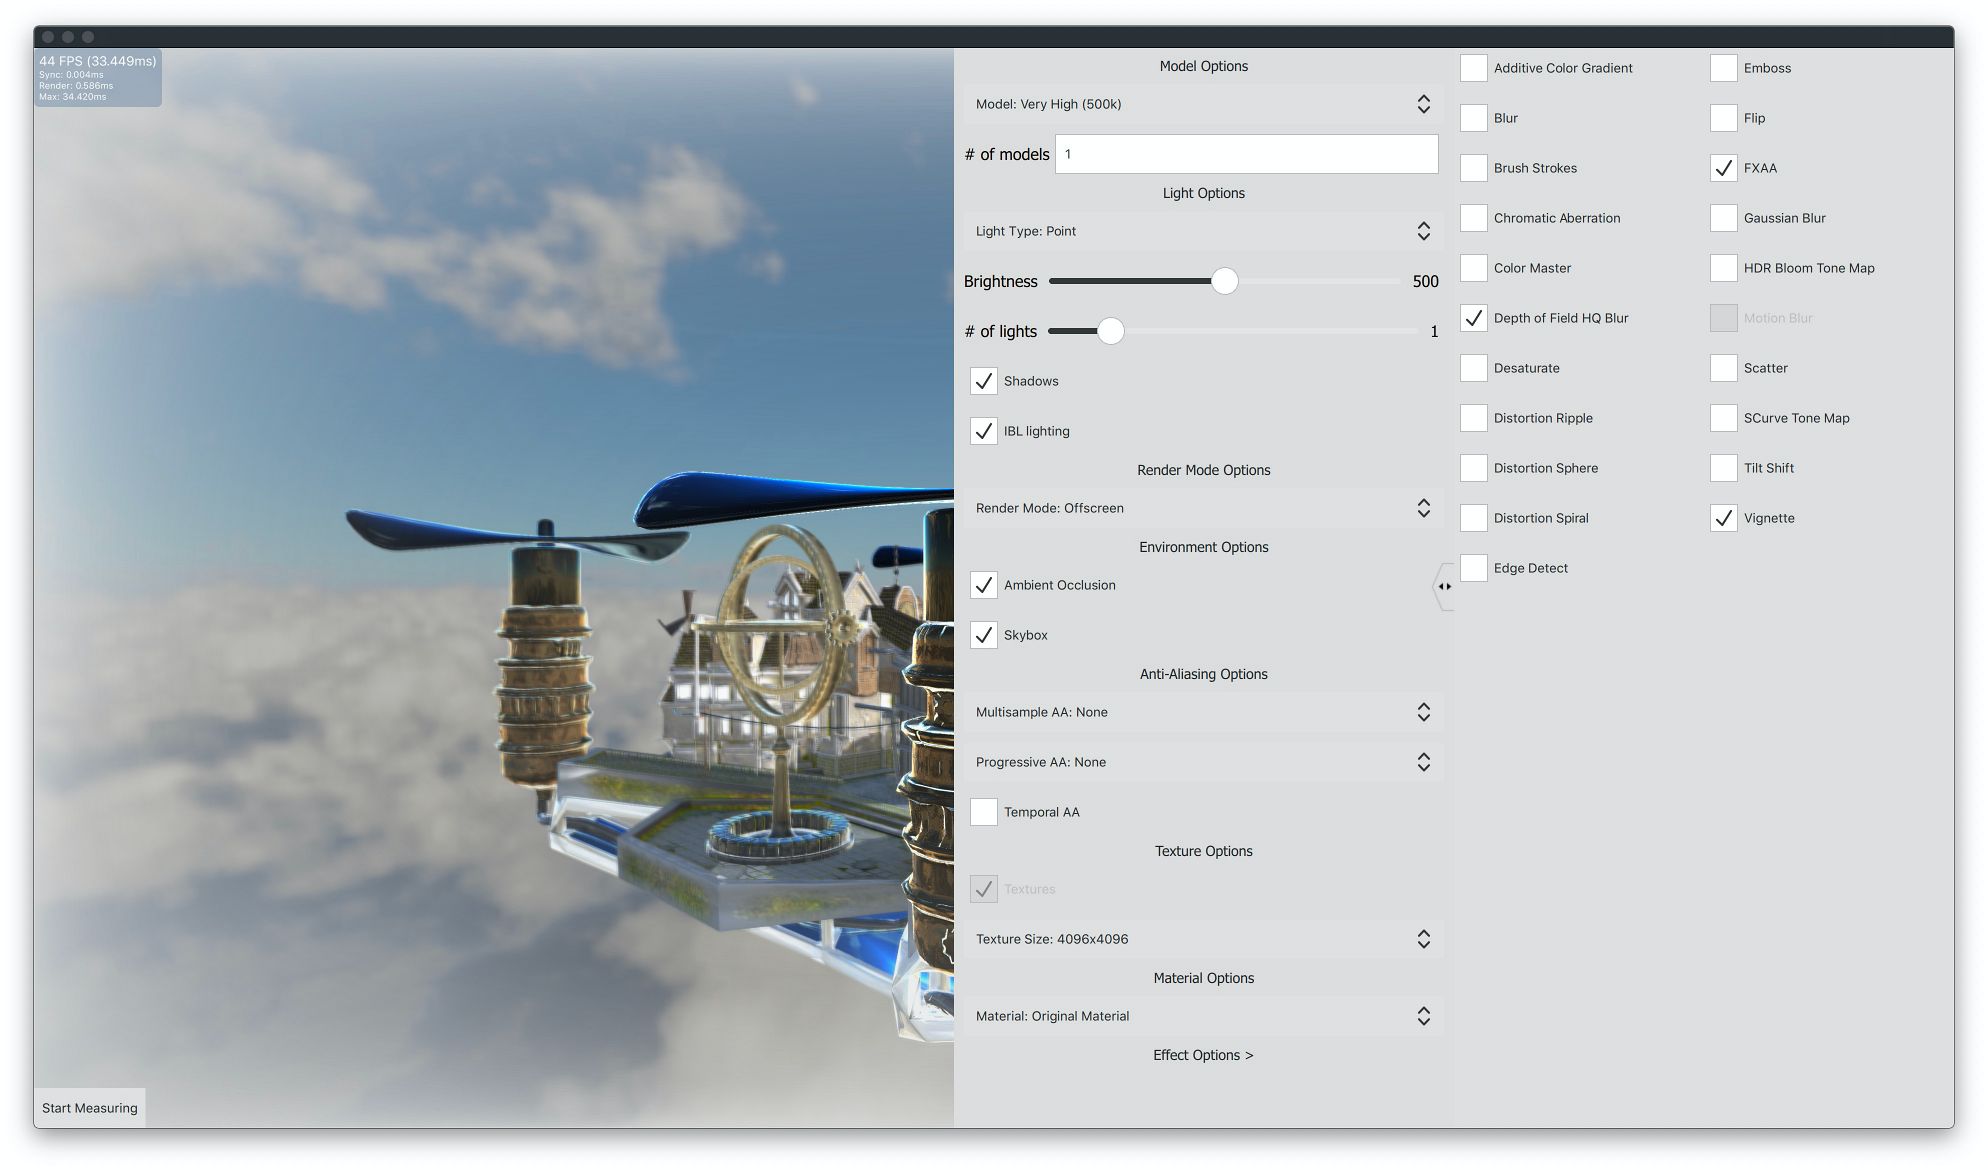
The benchmark demo application's main purpose is to enable users to try all the supported features in Qt Quick 3D 5.15 in an effortless manner. This includes changing the light type and count, model complexity and count, texture size, materials, and anti-aliasing method and quality, among other things.
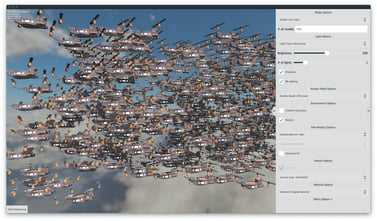
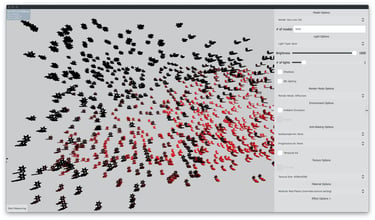
Users can quickly test if, for example, the number of models drawn has more effect on the performance on their hardware than the number of triangles in a model. This can be done by changing the settings between drawing 100 x 10k triangle models and 2 x 500k triangle models. The same can be done with lights; try if using 1 point light has more effect on performance than using 3 directional lights, for example.
All the supported post-processing effects can be easily tested with preset sensible values. It should be noted that not all effects are going to work on all kinds of hardware. If the device support at least OpenGL ES3.2, then everything should work. If they do not, you may have an issue with the device drivers.
There is a built-in FPS counter which allows user to see directly the effect of changing any of the features as soon as they are changed.
This far we have just been talking about enabling and disabling the features, but where does the benchmark come in?
Modes of Operation
There are 3 modes of operation in the application.
Normal Mode
The application starts in the normal mode by default. In normal mode you can adjust all the settings you want using the swipe view on the right edge of the screen. Initially you'll just see the small icon on the edge. By clicking it, or by dragging, you'll get the settings menu. By dragging again you'll get the effects menu too.

You can run benchmarks from normal mode by clicking the Start Measuring button at the bottom left corner. This will run the benchmark once and return to normal mode.
There is also another way to run benchmarks, in case you have a device which does not support either touch or other input devices.
Benchmark Mode
You can enable benchmark mode by starting the application with --mode benchmark as command line argument. In benchmark mode only the 3D scene is rendered. There is no FPS counter, no menus, and no buttons on the screen. This is to make sure we are measuring the rendering performance of the Qt Quick 3D part without the additional overhead of drawing Qt Quick Controls UI components too.
Benchmark mode performs a 60 second measurement run, after which the application will output a benchmark result file to the folder the application is being started from, and exit. The same information is also output on the console. The benchmark result outputs all the enabled/disabled features, and rendering performance measurements, as seen below.
These example numbers are from Windows 10 Home 64-bit with Intel(R) Core(TM) i7-6700 CPU @ 3.40GHz (8 CPUs) and NVIDIA GeForce GTX 1080 run in the default benchmark mode.
Screen Size: (1920x1061)
Average FPS: 59.800664451827245
Minimum FPS: 60
Maximum FPS: 60
Minimum Frame Time: 16.257699966430664
Maximum Frame Time: 19.12350082397461
Minimum Render Time: 0.1941986083984375
Maximum Render Time: 0.5038013458251953
Minimum Sync Time: 0.0214996337890625
Maximum Sync Time: 0.11910057067871094
Model: High (100k) (#10)
Light Type: Point [brightness 500] (#1)
Shadows: OFF
IBL lighting: OFF
Render Mode: Offscreen
Ambient Occlusion: OFF
Skybox: OFF
Antialiasing: Multisample AA (High)
Temporal AA: OFF
Textures: ON
Texture Size: 2048x2048
Material: Default Material
Effects: None
If the application is being run in Android this mode is not available as standalone. Benchmarks can only be run with the Start Measurement button, and the result will be displayed in a text field afterwards.
To make the benchmark mode a bit more usable in wide range of devices, there are three preset hardware levels and two different settings for target environment. By using the --preset command line argument the hardware performance level can be set to entrylevel, midrange (default), or highend. The --target command line argument can be set to either desktop (default), or embedded. You can try the combination of these to get some idea of the capabilities of your hardware.
Demo Mode
Demo mode is enabled by passing --mode demo as command line argument. Demo mode will run in a loop indefinitely, as it is meant for running at stands or showcases. Demo mode supports a combination of --preset midrange/highend and --target arguments. There is no separate support for entry level hardware, as it would make no sense running the demo mode without IBL lighting and skybox, for example.
Below is a short video clip of the demo mode.
Where To Get It?
The benchmark demo application can be downloaded from https://git.qt.io/public-demos/qtquick3d/-/tree/master/BenchmarkDemo
What Next?
The development of the benchmark demo application continues. We have a number of improvements planned, and they will be made available once finished.
If you have ideas you would like to see, you may add them here as comments: https://bugreports.qt.io/browse/QTBUG-83609


